- 8 Steps to create a Shopify Store
- 1. Create a custom Shopify shop
- 2. Choose and install the theme on Shopify Business
- 3. Creating pages for Shopify shops
- 4. Shopify Store Login: Adding and configuring Products
- 5. Set up delivery, payment and taxes in Shopify
- 6. Add discounts to your products
- 7. Choose new points of sale in Shopify store
- 8. Test the order process
- Conclusion : How to Set up Shopify Store?
In the world of e-commerce, there are already several tools that make it easy to develop an online shop. In this article, we’re going to talk about a new solution, the Shopify store. Let’s find out how it works! 🛒
8 Steps to create a Shopify Store
1. Create a custom Shopify shop
Many web developers specialize in creating, configuring and customizing Shopify sites. However, you can simply do it yourself and in this guide I’ll show you how to do it. 🤩
If you want a Shopify shop with all the functionality your business needs, you can also outsource the setup to an experienced Shopify expert to make it easier. 😉
But, like I said, you can very well create it yourself if you don’t have the resources to do it externally!
How to create your first Shopify Ecommerce?
Here’s how to go about creating your first Shopify e-commerce site: 👇
First of all, go to the Shopify website and click on the “Start a free trial” button in the top right corner.
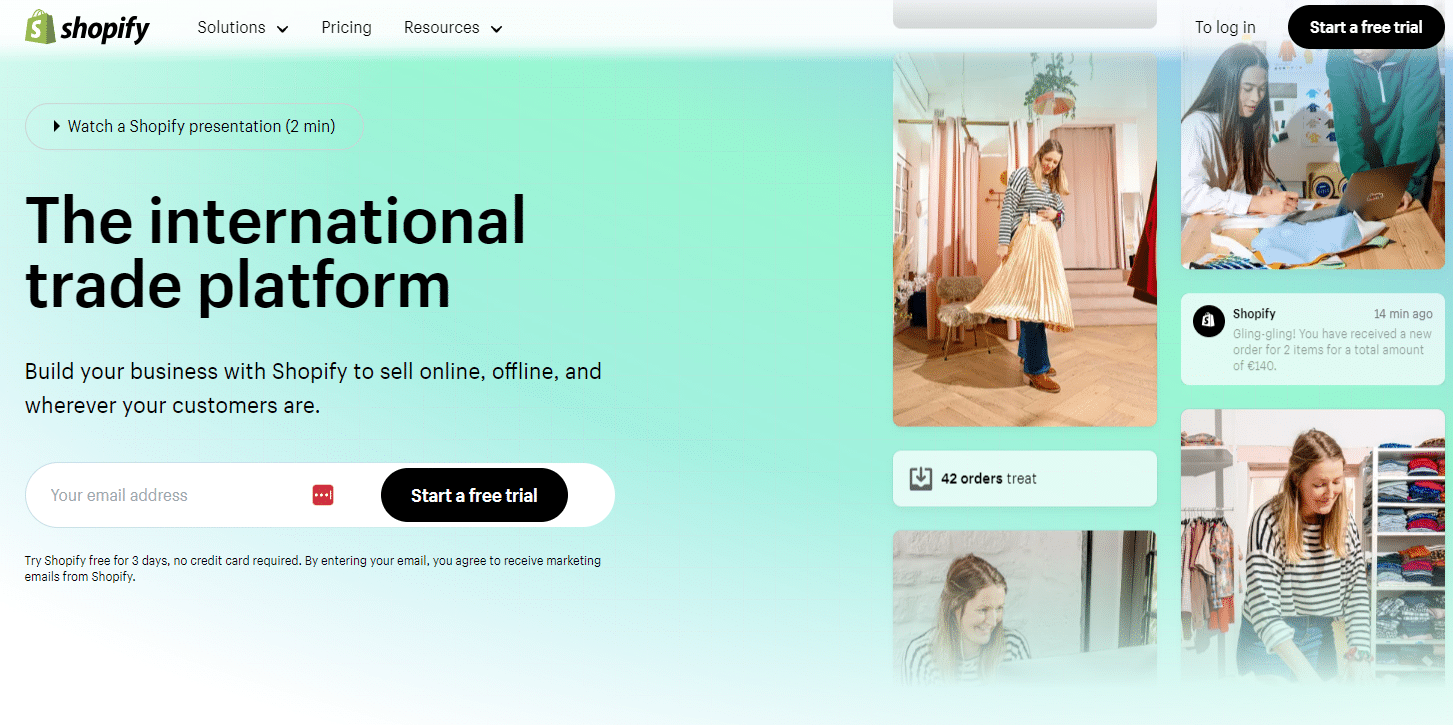
A 14-day free trial is initially available, giving you plenty of time to set up your online shop. 🗓️
Fill in the fields required to create an account and click “Next”, then “Create your shop”.
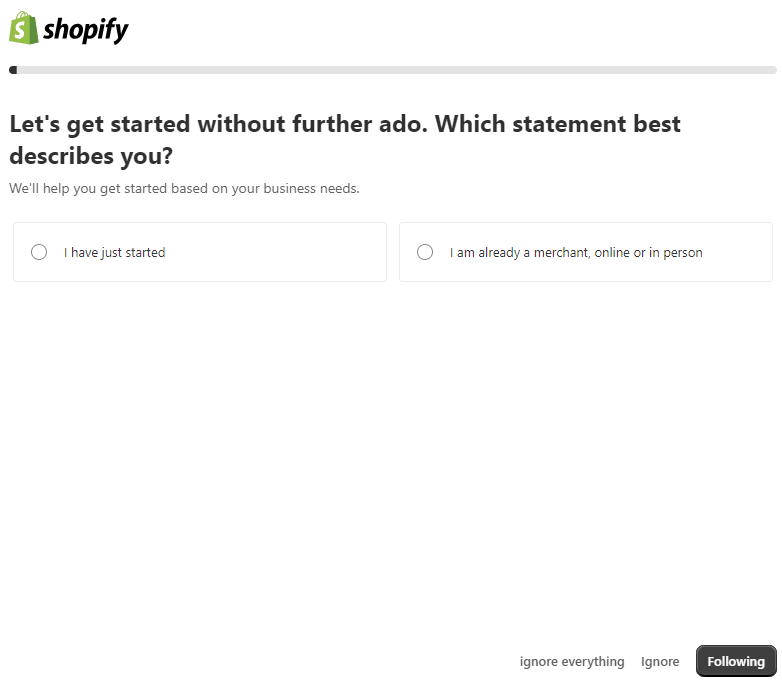
This step is very important, as you need to fill in the information about your online shop. 🤓
The address you enter will be used by default for your business, but you can change it later if you wish.
Then click on “Create your shop” and validate the confirmation email.
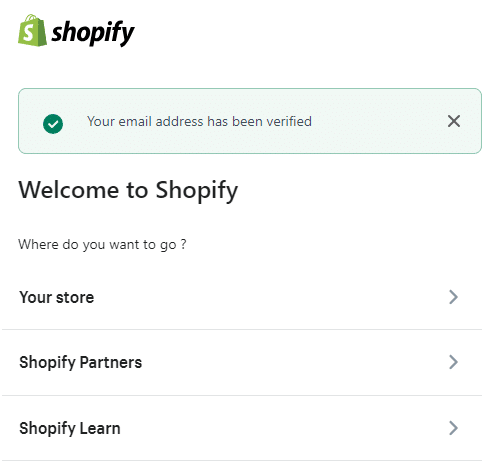
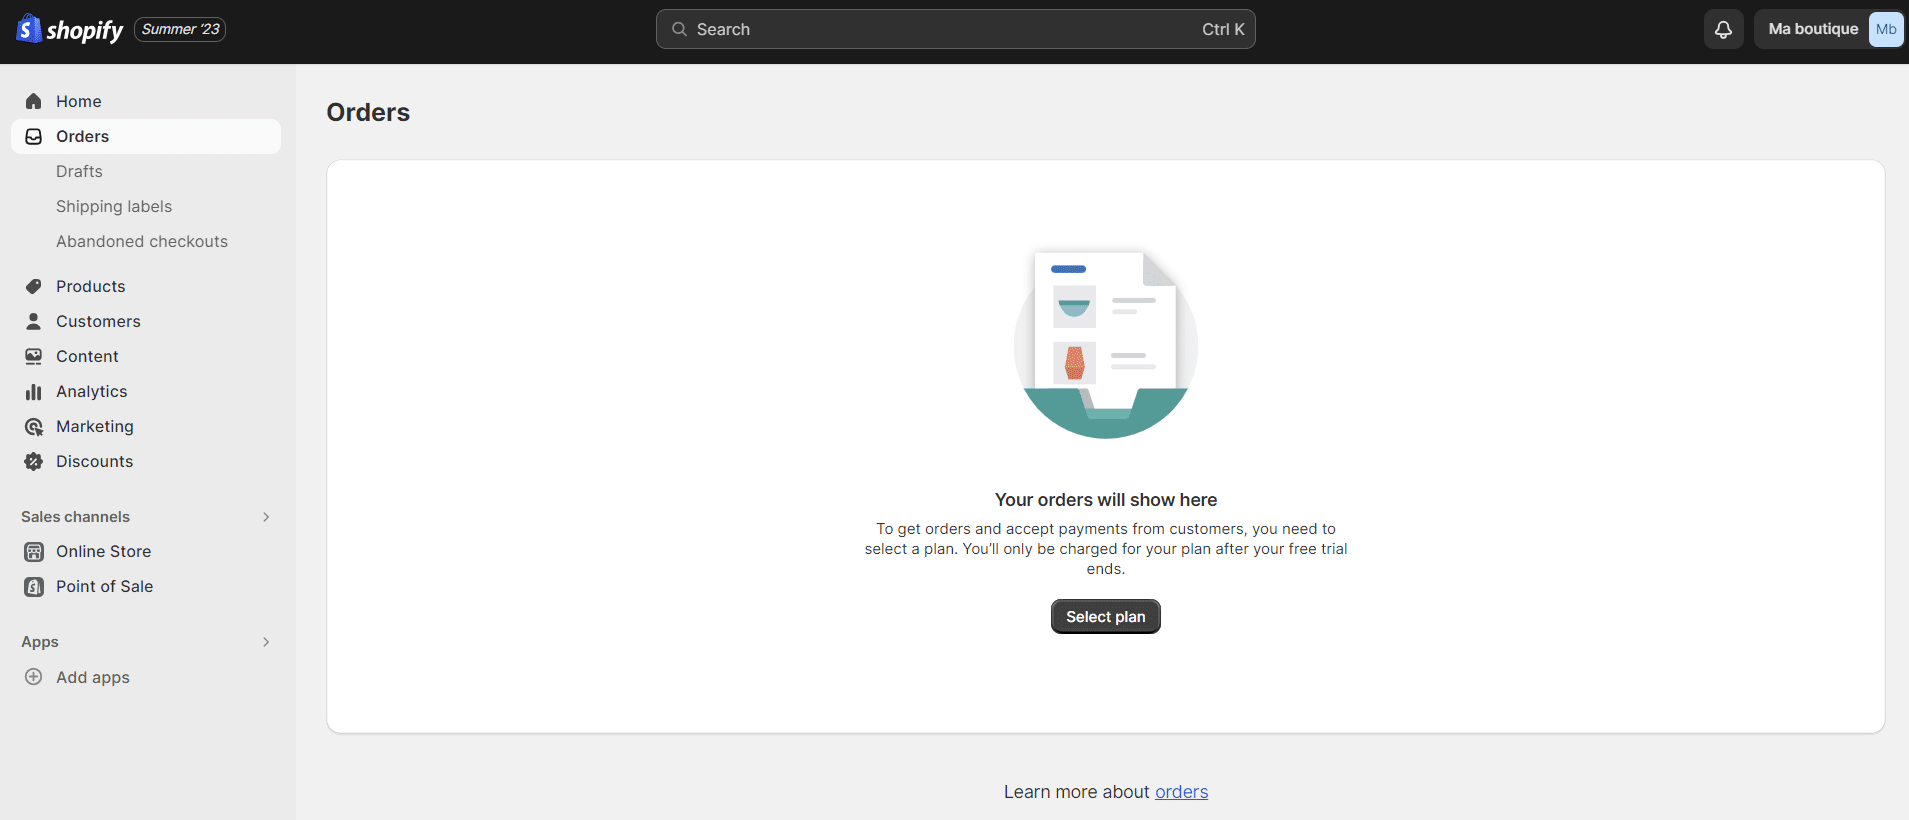
You will then be taken to the administration interface for your website. 🛠️ You can manage your shop here:
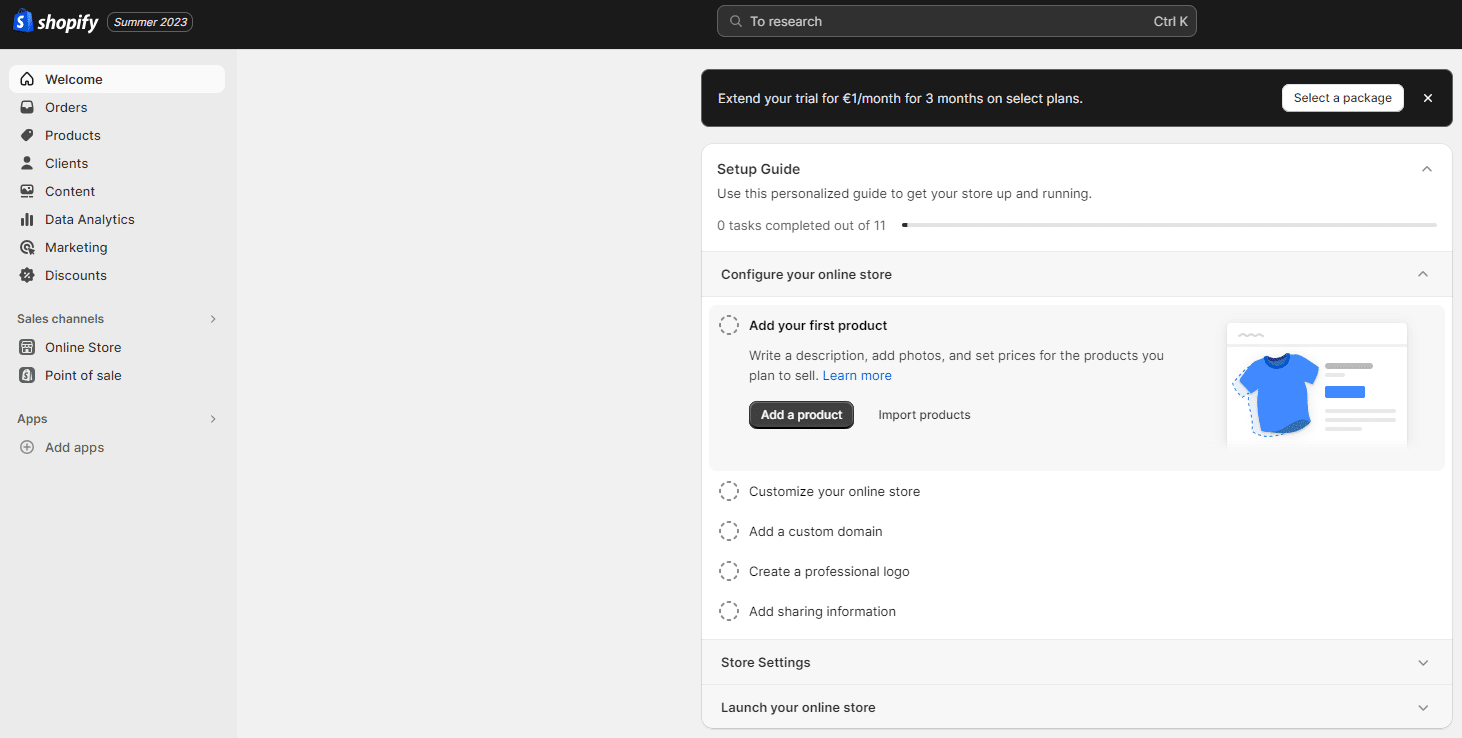
Before moving on to creating the shop, let’s go through the various settings in your admin area. ⏬
- Home “Home”: This is not the home page of the dashboard (admin panel). This is an overview of the e-commerce site data.
- Orders”: This section displays baskets created (incomplete or abandoned) and all orders placed.
- Products”: Here you can create product sheets, manage stocks and even create gift cards.
- Customers: Here you can view various customer data and order details.
- Analytics: This section gives you access to your e-commerce site statistics.
- Discounts”: Here you can create promotional codes.
- Apps: In this section, you can download applications to add functionality to your Shopify shop.
- Sales Channels: Here you can manage various aspects of your online shop (add pages, manage preferences, choose a theme, etc.) and add other acquisition channels (Facebook, Amazon, etc.).
- Settings”: Here you can manage the admin part of the website and configure payment methods, among other things.
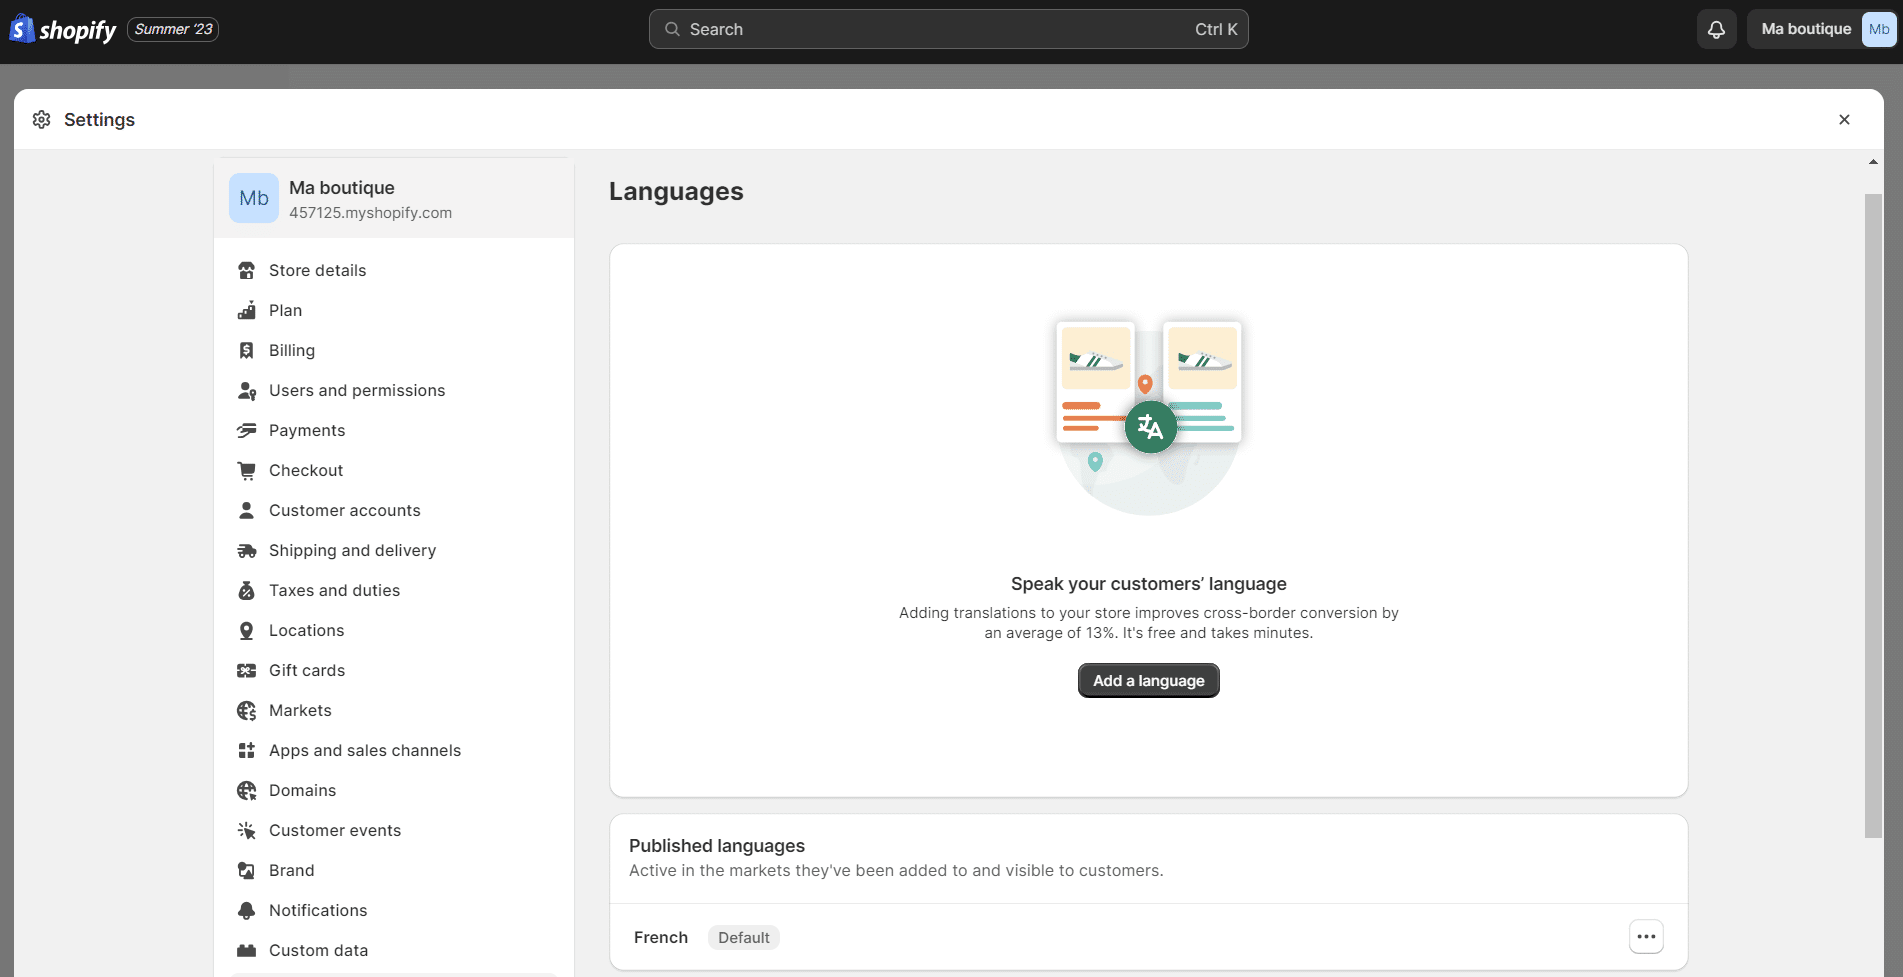
How do I change the language of my Shopify store?
It’s easy! Go to your “Settings”, then in the “Languages” section you can “Add a language” for your shop: ⏬
2. Choose and install the theme on Shopify Business
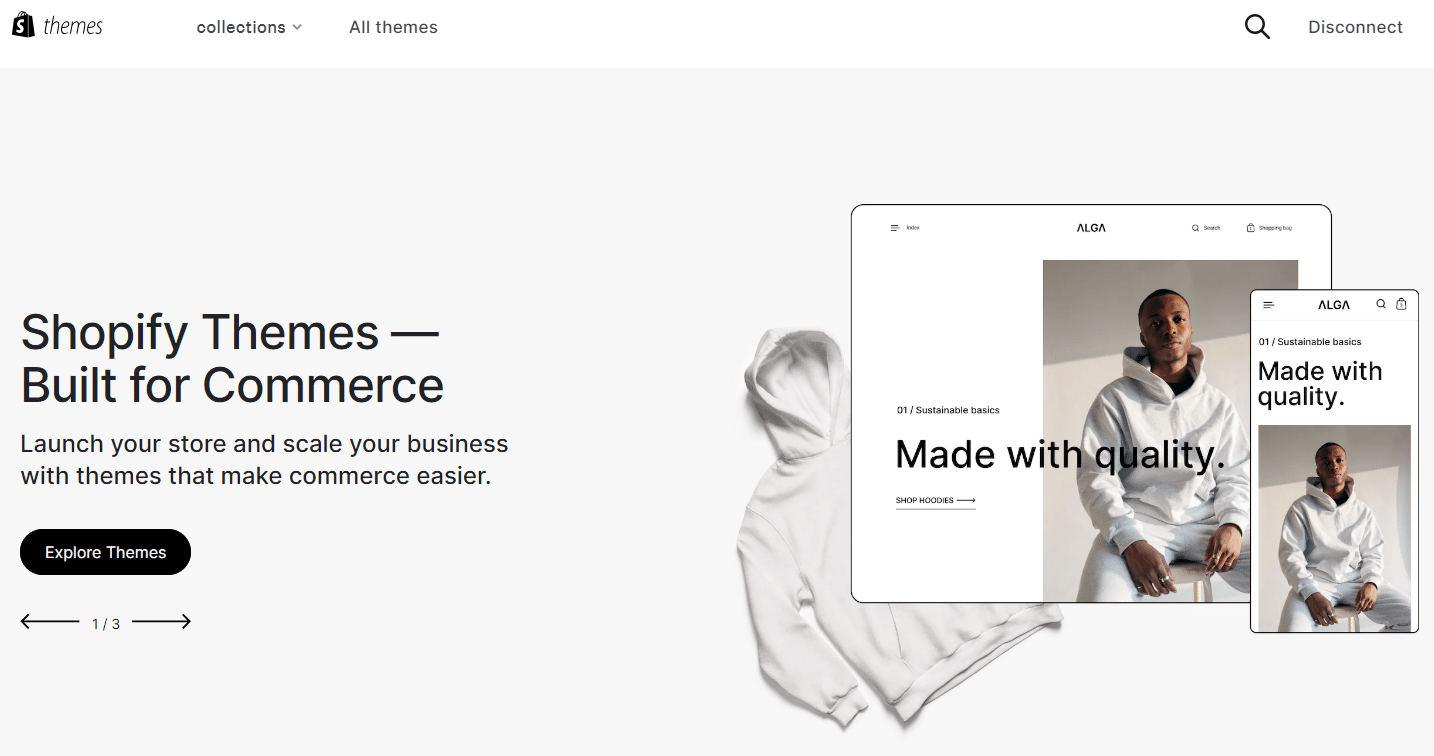
To configure your e-commerce site, you need to choose a theme that customizes the look of your shop. 🥰
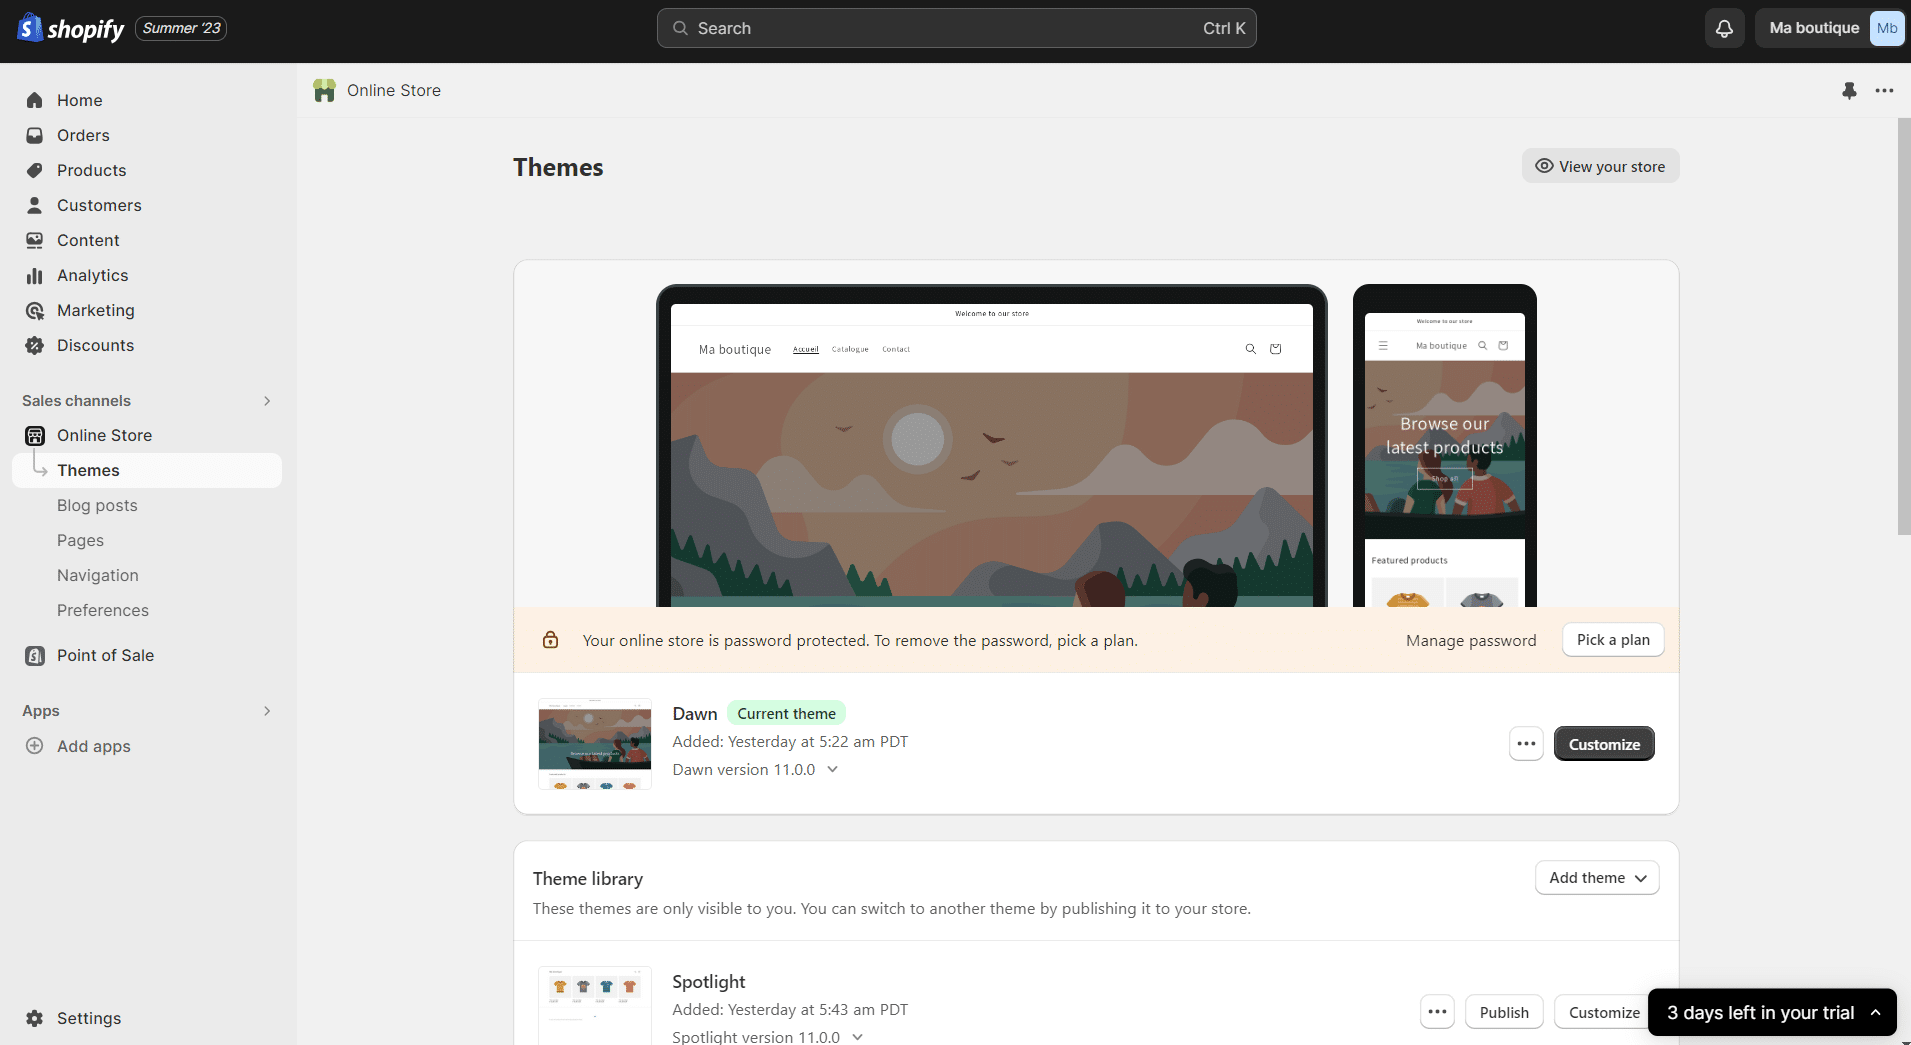
Go to “Sales Channels” and click on “Themes”.
Shopify offers a number of themes, both free and paid. 🛍️ Paid themes offer advanced features and are easy to customize, but free themes are a good compromise when you’re just starting out on Shopify
How do I choose a Shopify theme?
To choose a Shopify theme, you need to ask yourself the following questions: 👇
- What type of product am I selling?
- How many items do I want to sell?
- What brand image do I want to project?
How do I install the Shopify theme store?
To install a theme on Shopify, click directly on “Explore Free Themes” (“Find free themes”) to access around 10 free Shopify themes. 🤑
Simply click on a theme to see the features it offers, and if you like the theme, click “Add” (“Add”).
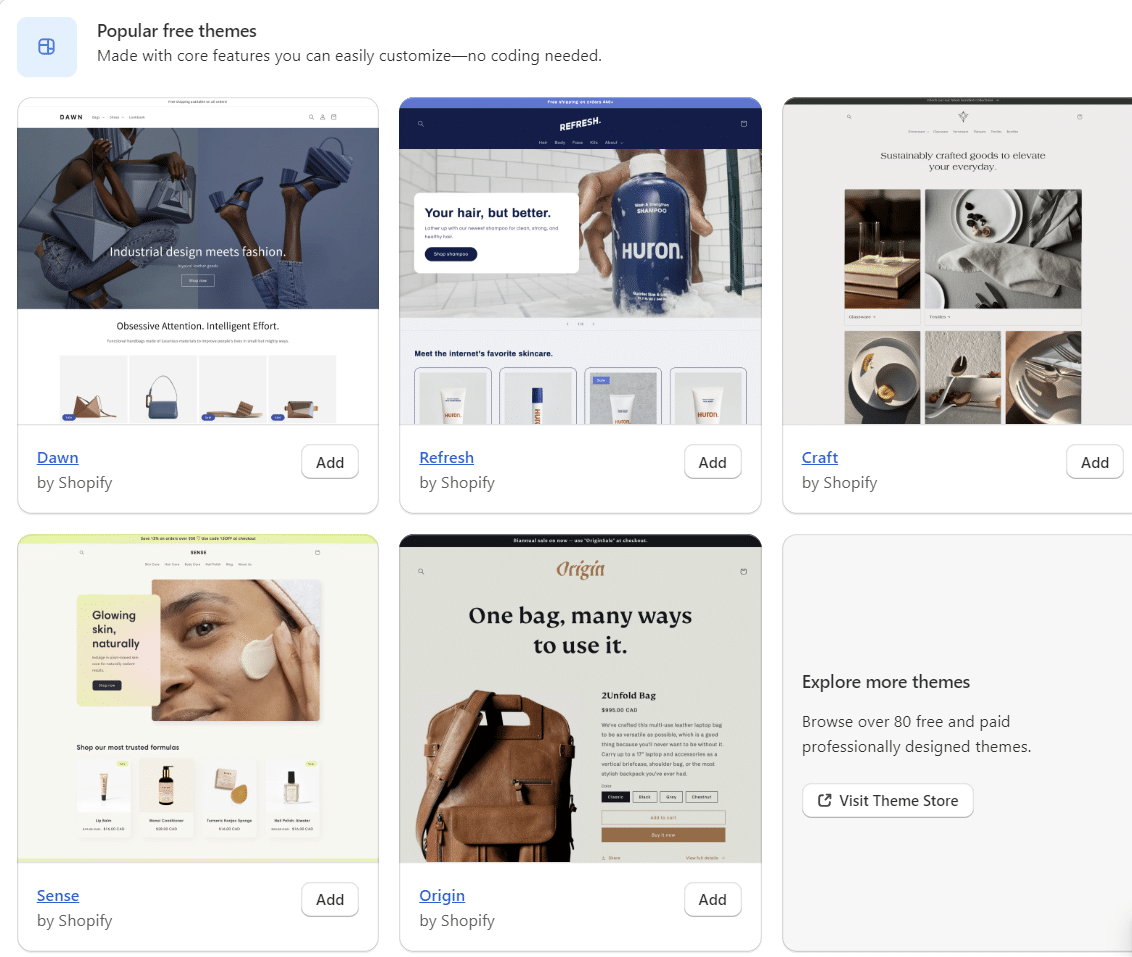
You can also visit the Shopify Theme Store by clicking “Visit Theme Store” (“Visit Theme Store”). 🔍 Here you’ll find not only paid themes, but also free themes.
Click on a theme you like to find out more and see a demo.
Once selected, click on “Try the theme”, you can filter by paid themes or free themes. 👏
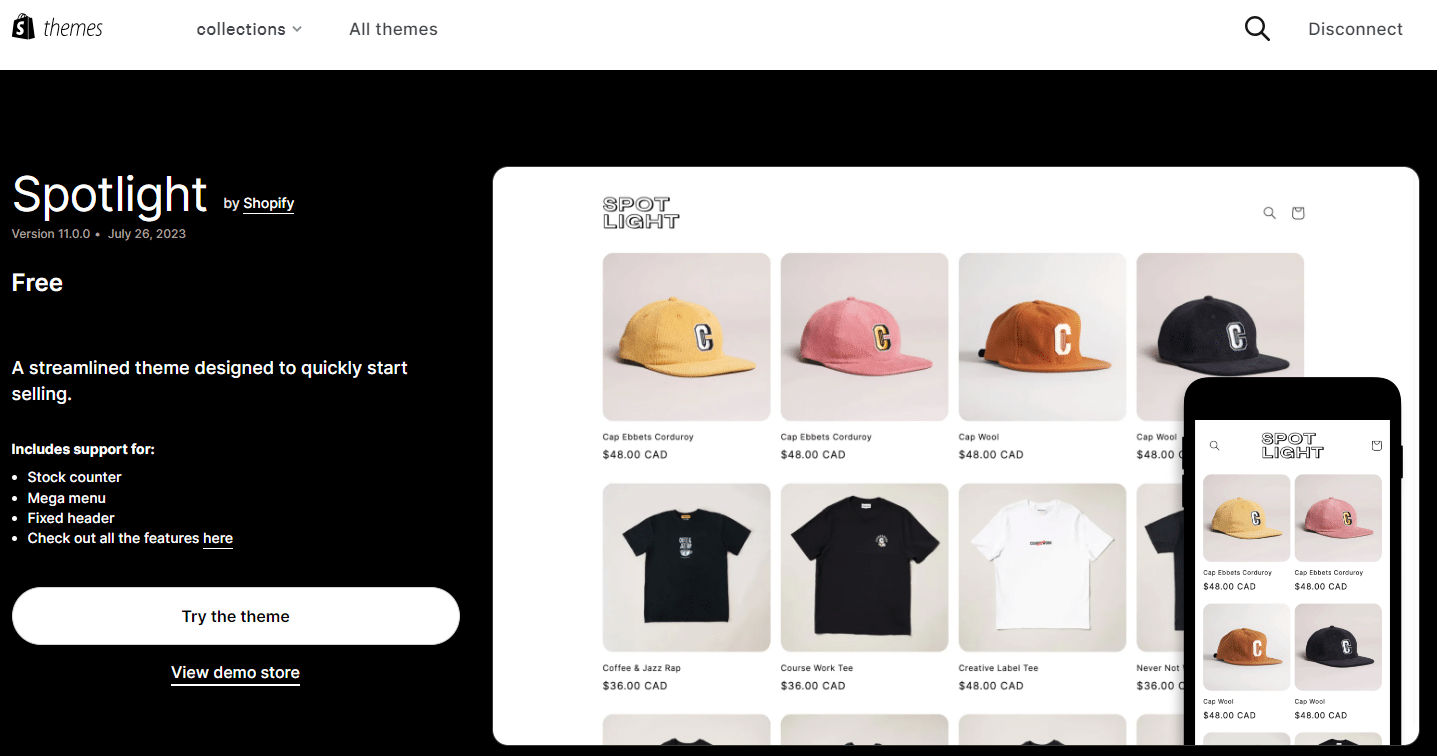
Wait a few seconds for the theme to finish installing…
And presto! Your Shopify theme is installed. 😀 You can customize it by clicking on “Customize”.


3. Creating pages for Shopify shops
To create pages on your Shopify shop, you need to go to the “Sales Channels” menu and click on “Pages”.
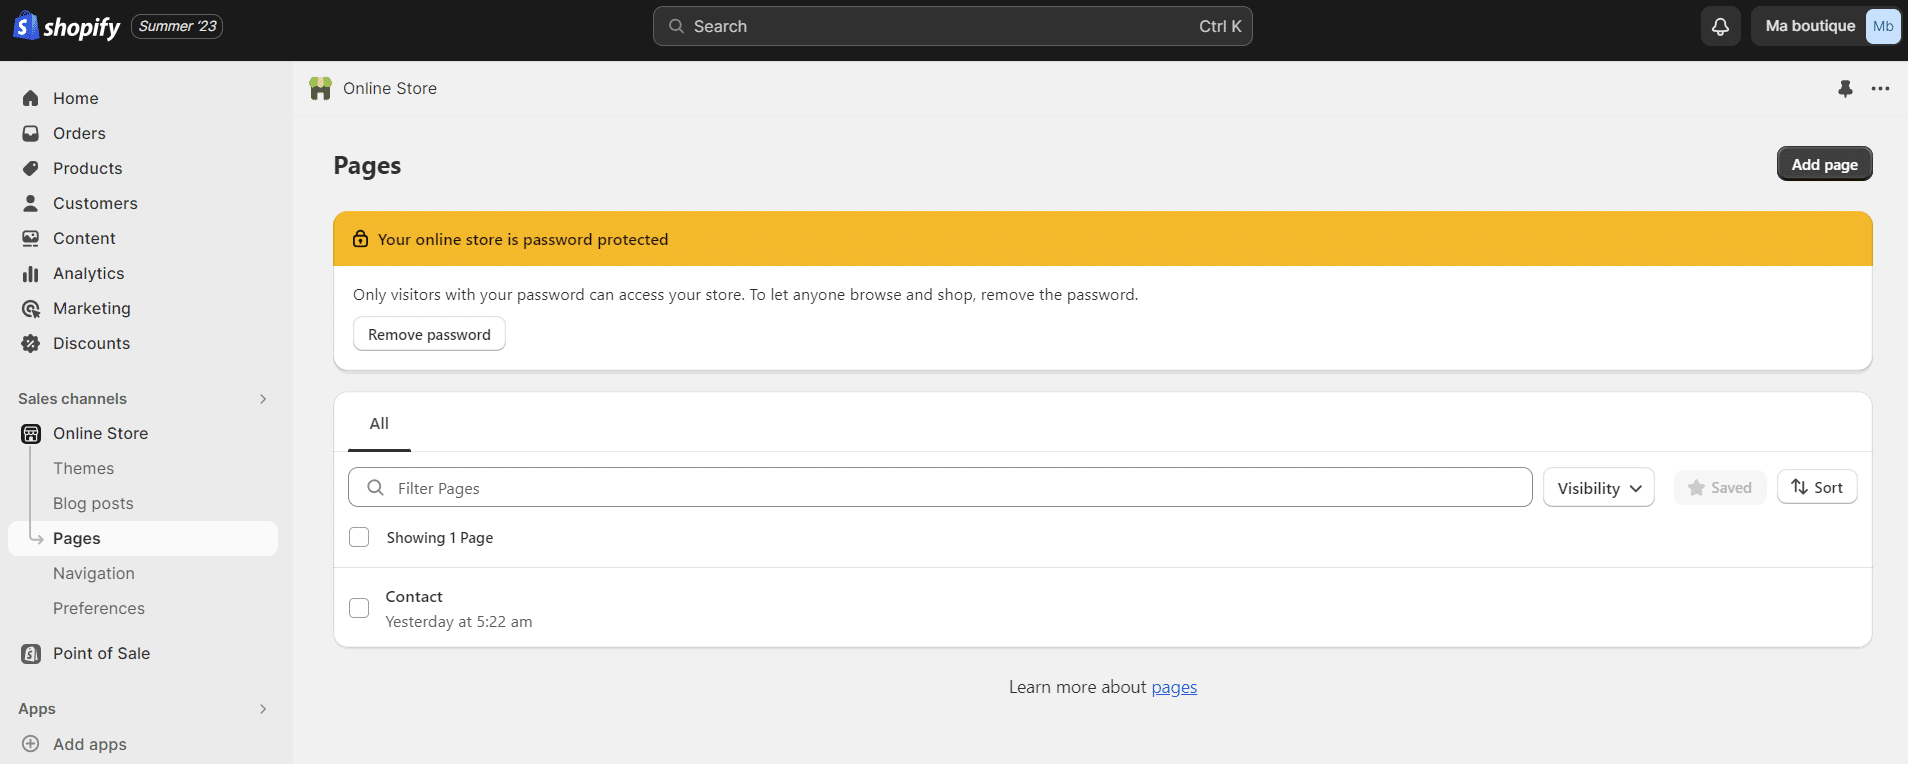
Shopify allows you to create different pages on your e-commerce site, such as “FAQ”, “Legal”, “Contact us”, etc.
To add a page, simply click on the “Add page” button. 👆
Now you can enter the title of your page and its content. 💻 To create a contact page, you may need to select the “page.contact” template. This will automatically integrate a contact form into your web page. ✍️
If you don’t want your shop to be published straight away, you can tick “Hidden” in the “Visibility” box.
Finally, click on “Save” to save the changes you have made.

4. Shopify Store Login: Adding and configuring Products
How do I create product categories?
Before you start creating your first product in Shopify, let’s start by defining categories. These categories can be used to categorize different products on your e-commerce site. 🤓
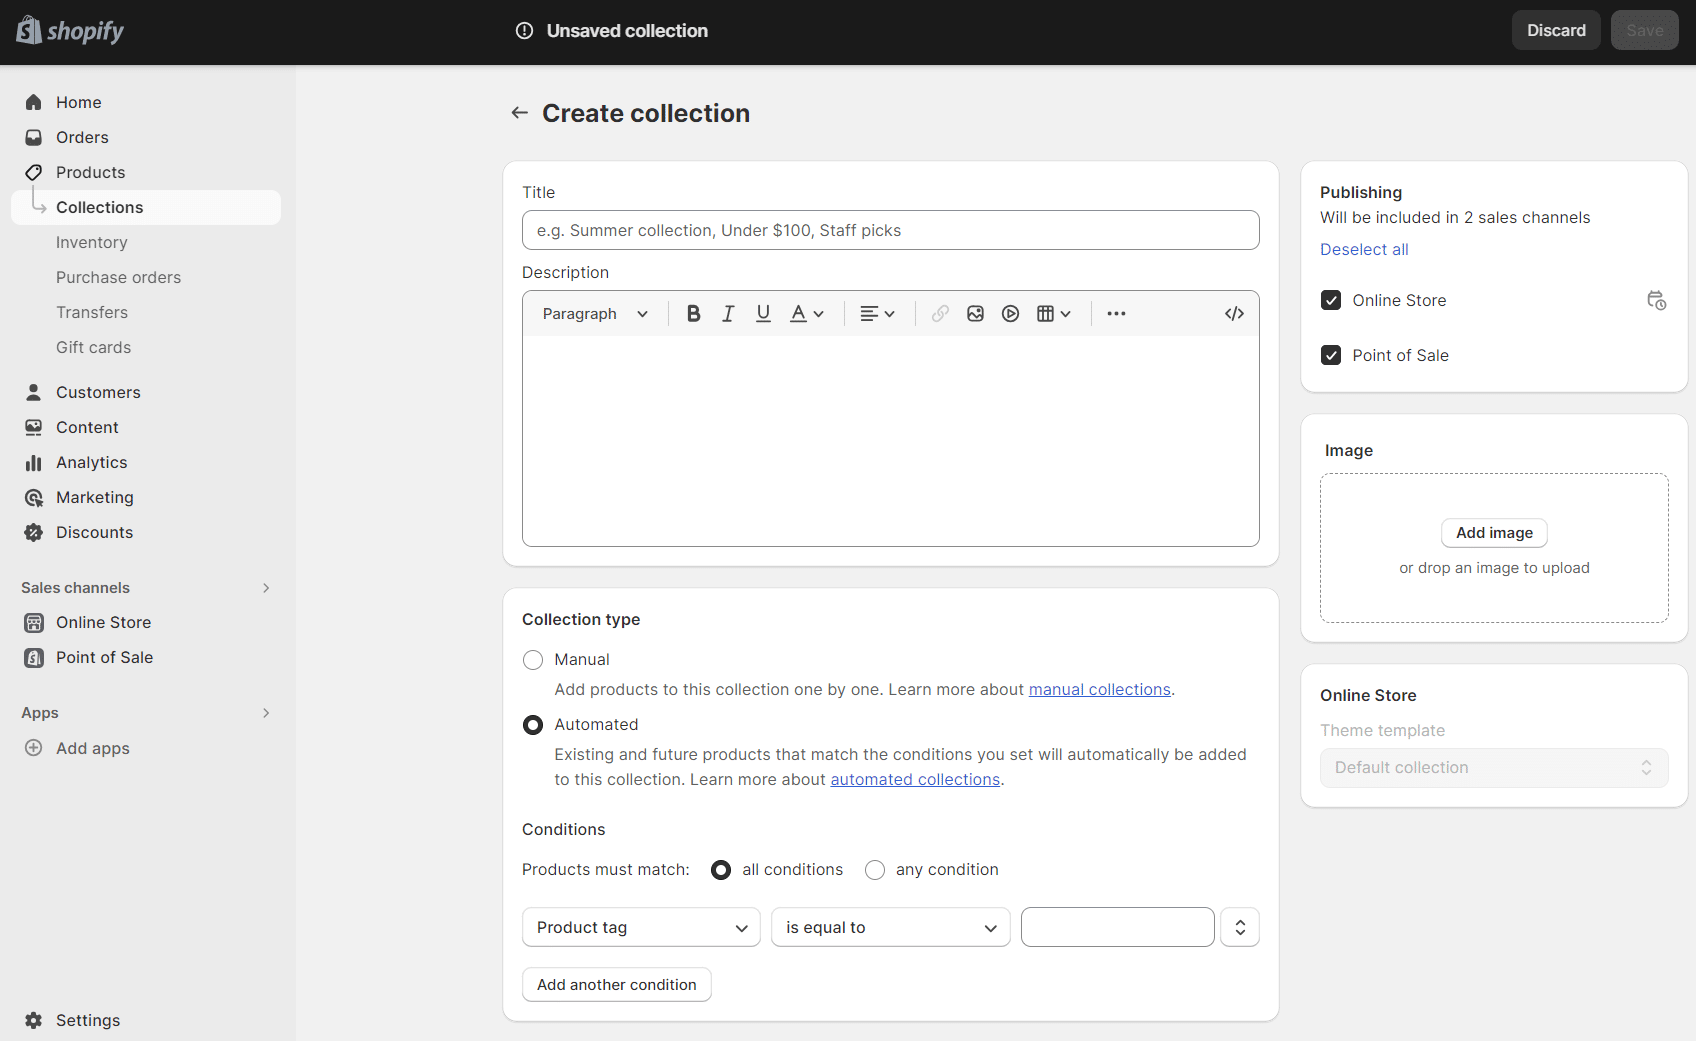
- To create a collection, click on “Products” and then “Collections”.
- Then click on the “Create collection” button at the top right of the page.

Enter a title for your collection (e.g. “Clothing”, “Jewelry”, etc.) 💍 and a description before you start creating. You can also upload an image to your product category by clicking on “Upload image”.
Next, we need to enter the display conditions for the products in the collection: 👇
- “Manual”: allows you to manually select the products associated with the collection.
- “Automated”: products are assigned to categories according to the criteria entered.
We recommend that you select “Manual” because managing products by category is simpler and more flexible.
Finally, don’t forget to click on “Save” at the bottom of the page. ✅
How do I add a product in a Shopify Store?
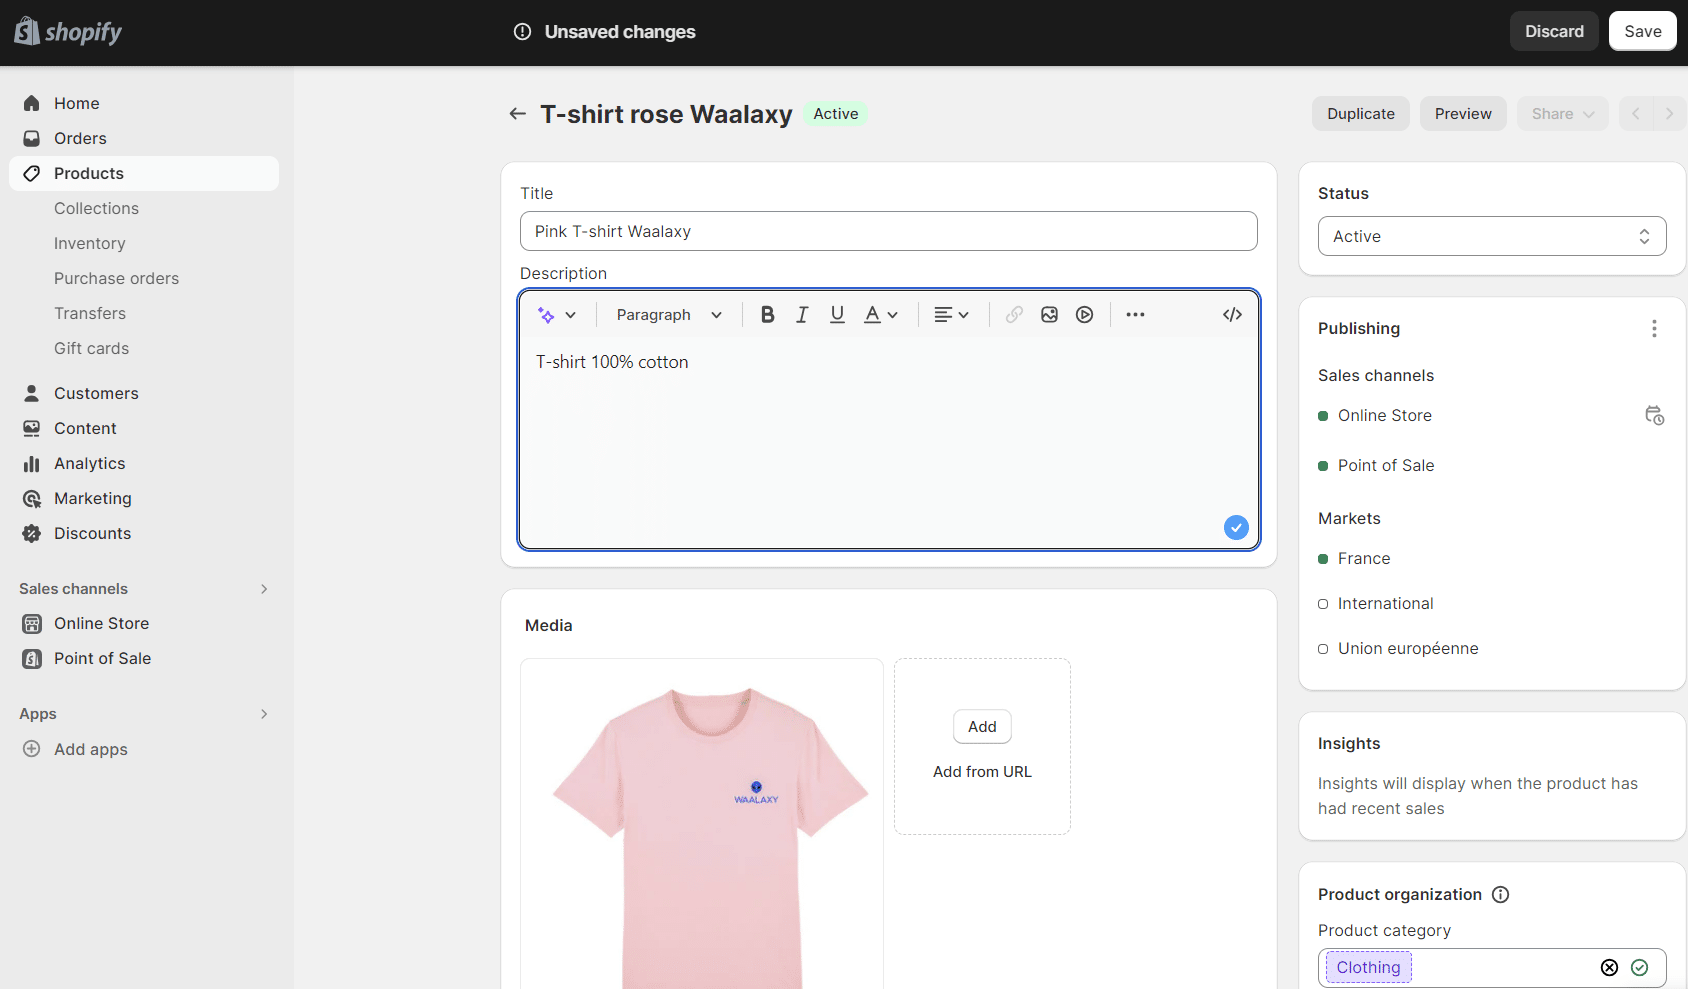
Next, to add a product to your Shopify shop, click on “Products” in the left-hand menu, then click on the “Add your products” button

Then fill in the various product fields: ⏬
- “Title and description”: add a name and description for your product.
- “Distribution channels”: if you have several distribution channels, you can choose which platform you want your products to appear on.
- “Product organization”: Here you can enter the type of product and the seller of the product (brand, etc.).
- “Collections”: Choose which collections the product will appear in.
- “Tags”: Keywords can be added. Type of product, origin, color, etc.
- “Media”: you can add several images to describe your product.
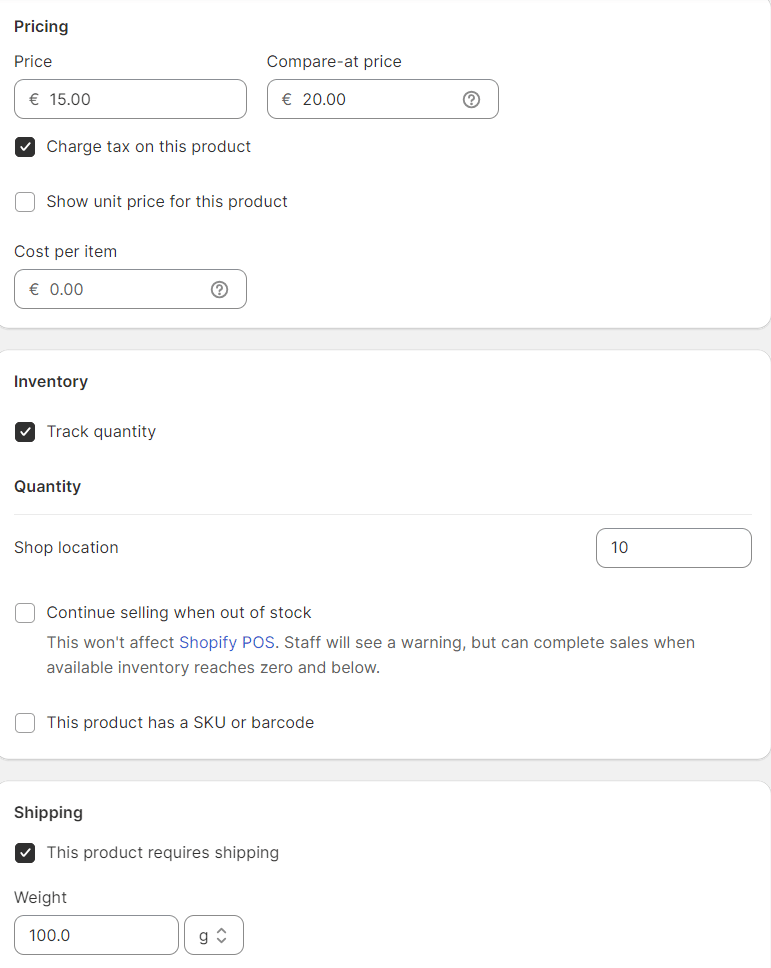
- “Price”: Enter the price of the product. You can add discounts in “Compare-at price”.
- “Inventory”: Enter the quantity of products. In “Shop location”, you can manage your inventory by entering the number of products.
- “Shipping”: Tick the box if the item can be shipped and enter the weight. 📦
- “Variants”: for example, enter different sizes or different colors for your product. After entering the value for the variant, press “Done”. When you create variants, you can define specific prices and stock levels for each variant.
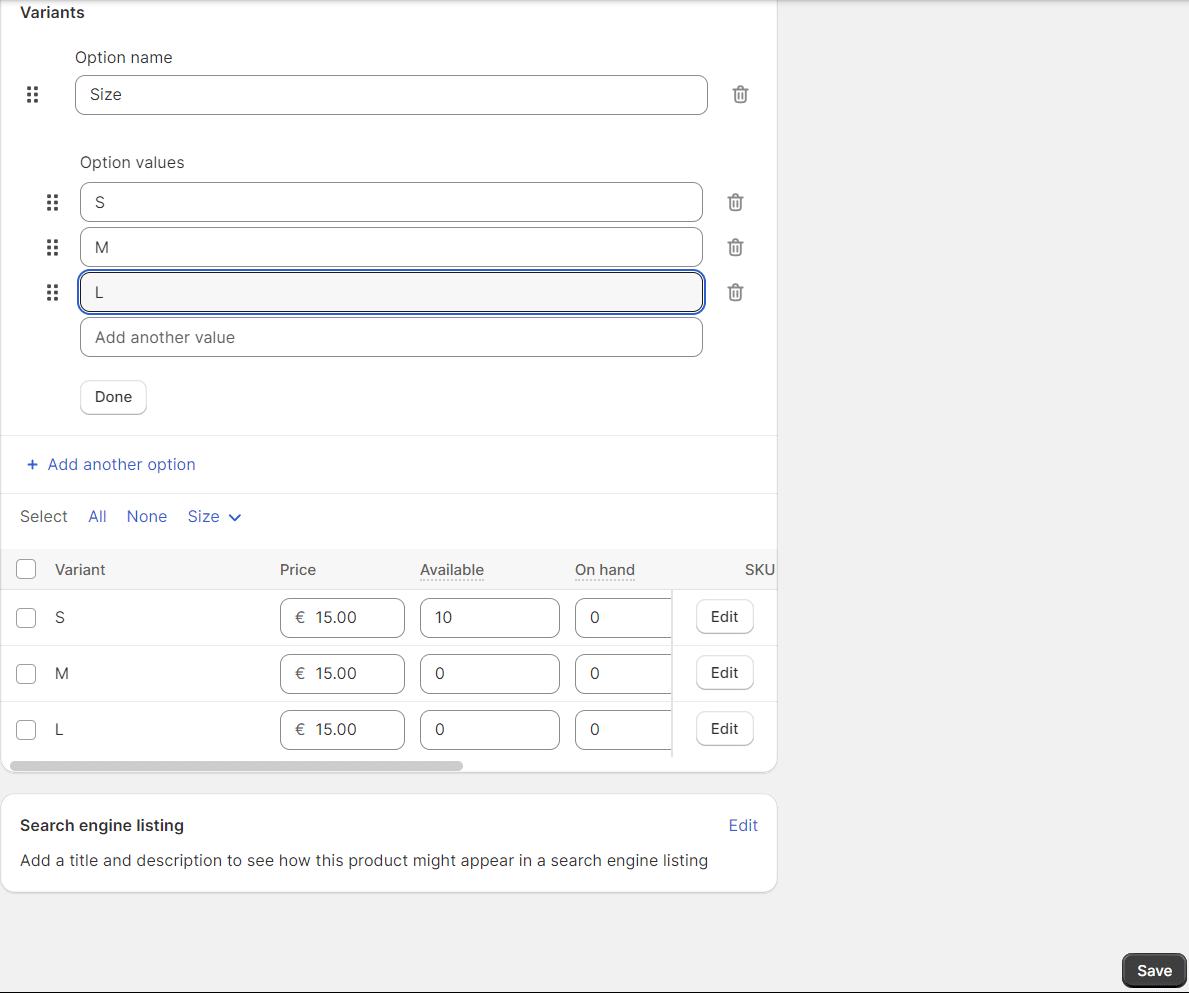
- Finally, click “Save” to save the products. 👌
5. Set up delivery, payment and taxes in Shopify
How do I configure payment methods?
- Now, to configure payment methods for products on your e-commerce site, go back to “Settings” and click on “Payment methods”. 💰
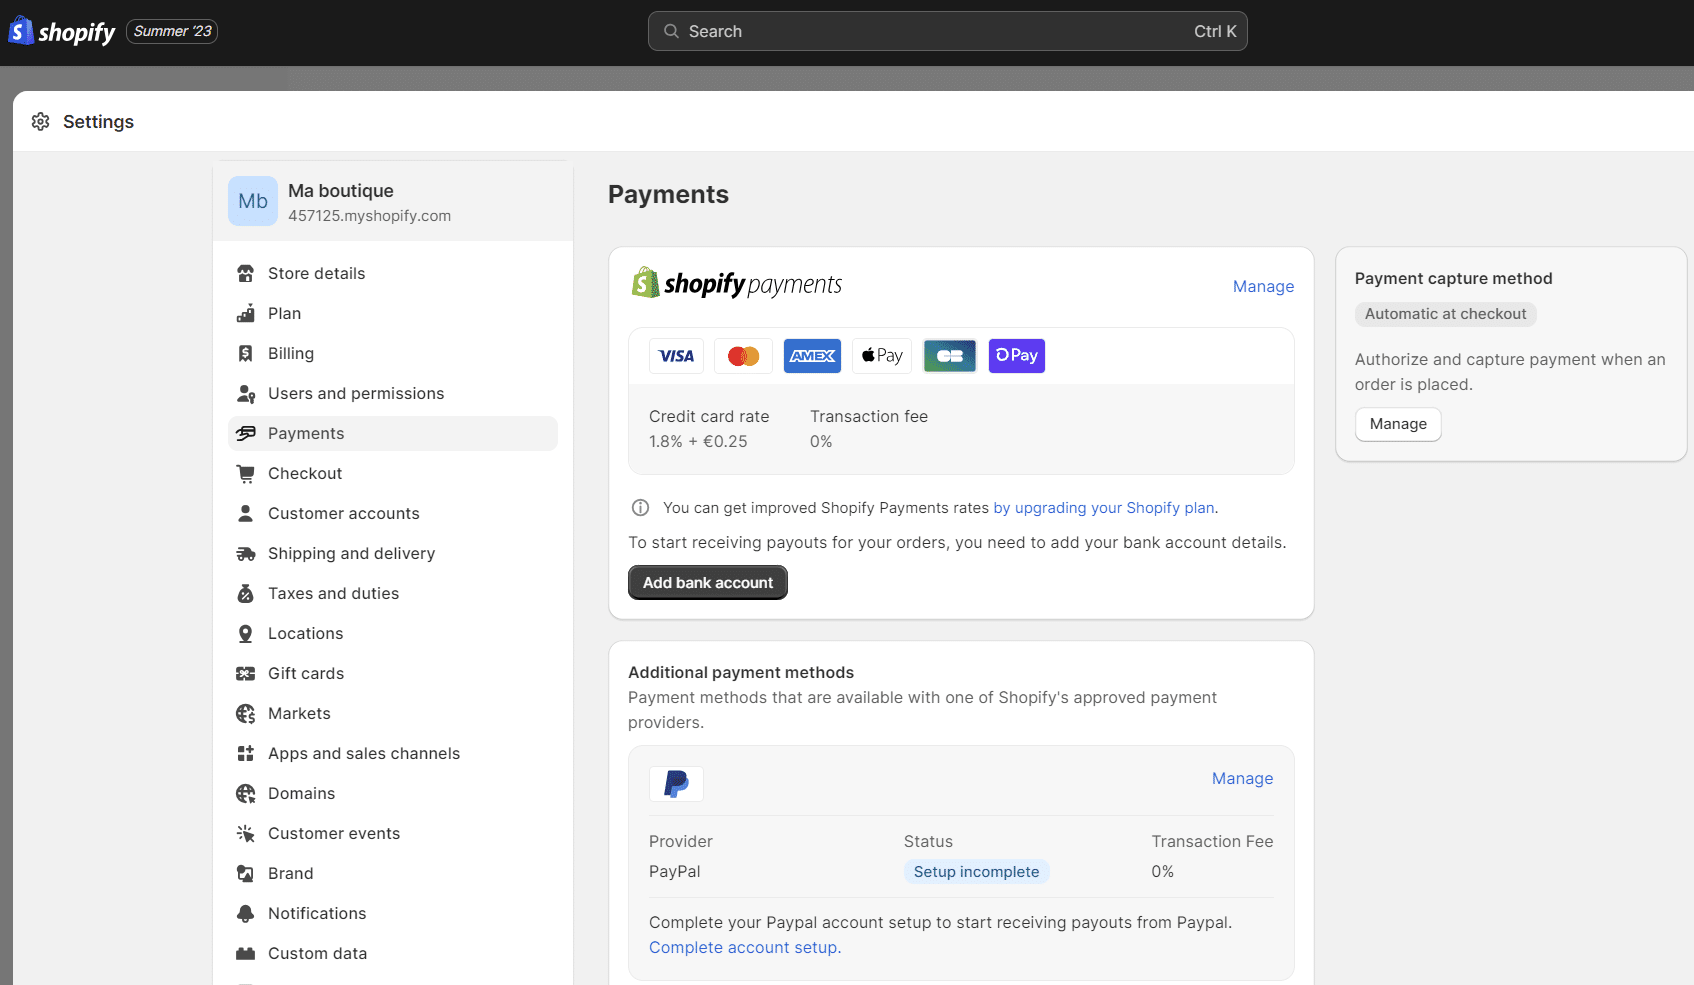
For example, PayPal is the preferred payment method for many customers, so we recommend that you install it. The PayPal Express Checkout version is sufficient in most cases, as it allows your customers to pay by credit card via PayPal or directly from their PayPal account;
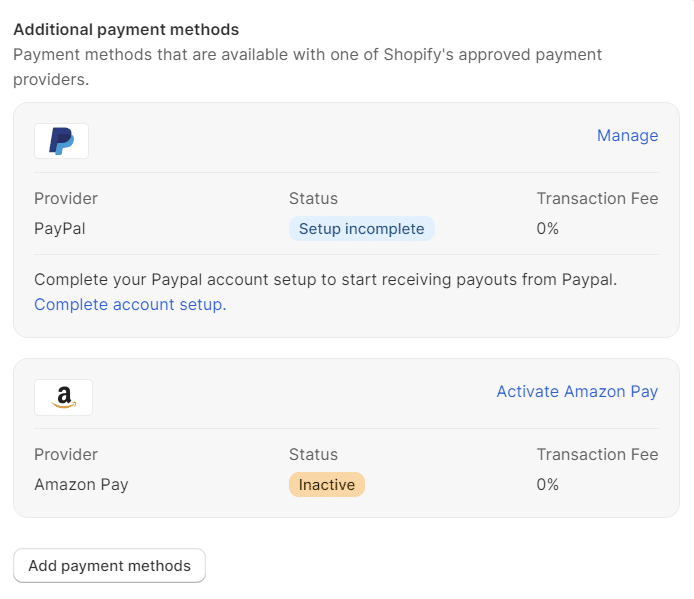
- The “Add payment methods” button gives you access to Shopify’s various payment partners. We recommend that you choose the main credit cards, as this is one of the easiest online payment solutions.
- After clicking on “Activate”, you will be asked to enter information to activate your account. Click “Authorize access to this account” to confirm.
You can also add alternative payment solutions or activate Amazon Pay, for example.
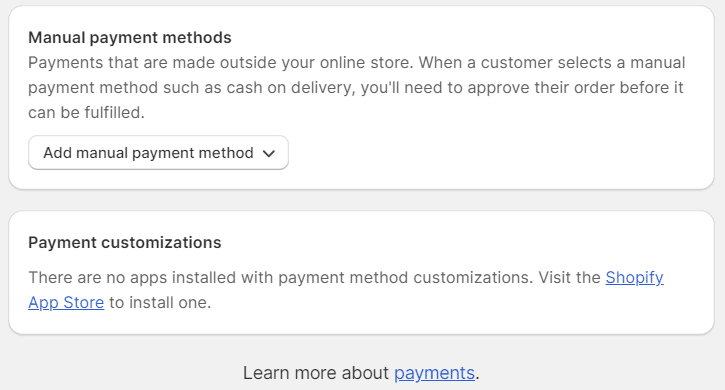
If some customers can’t (or don’t want to) use credit cards, a “manual payment” is possible. 🧐 When customers use manual payments, they transfer money outside your e-commerce site;
For example, you can send money in cash or transfer money to another bank account. After receiving this payment, you can manually approve the sale. 🤝
Finally, in the “Payment entry method” section, you can decide whether payments should be made automatically or checked manually at the time of sale. 🤔
This is because when a customer pays by credit card, the payment information must be entered and sent to the bank for processing;
- “Automatically”: Your loyalty card can be topped up automatically before the authorization period expires, saving you time in order processing.
- “Manually”: Payment must be made via the “Orders” page.

How do I configure product delivery in Shopify store?
To configure product delivery, return to the settings and click on “Shipping”. 📨
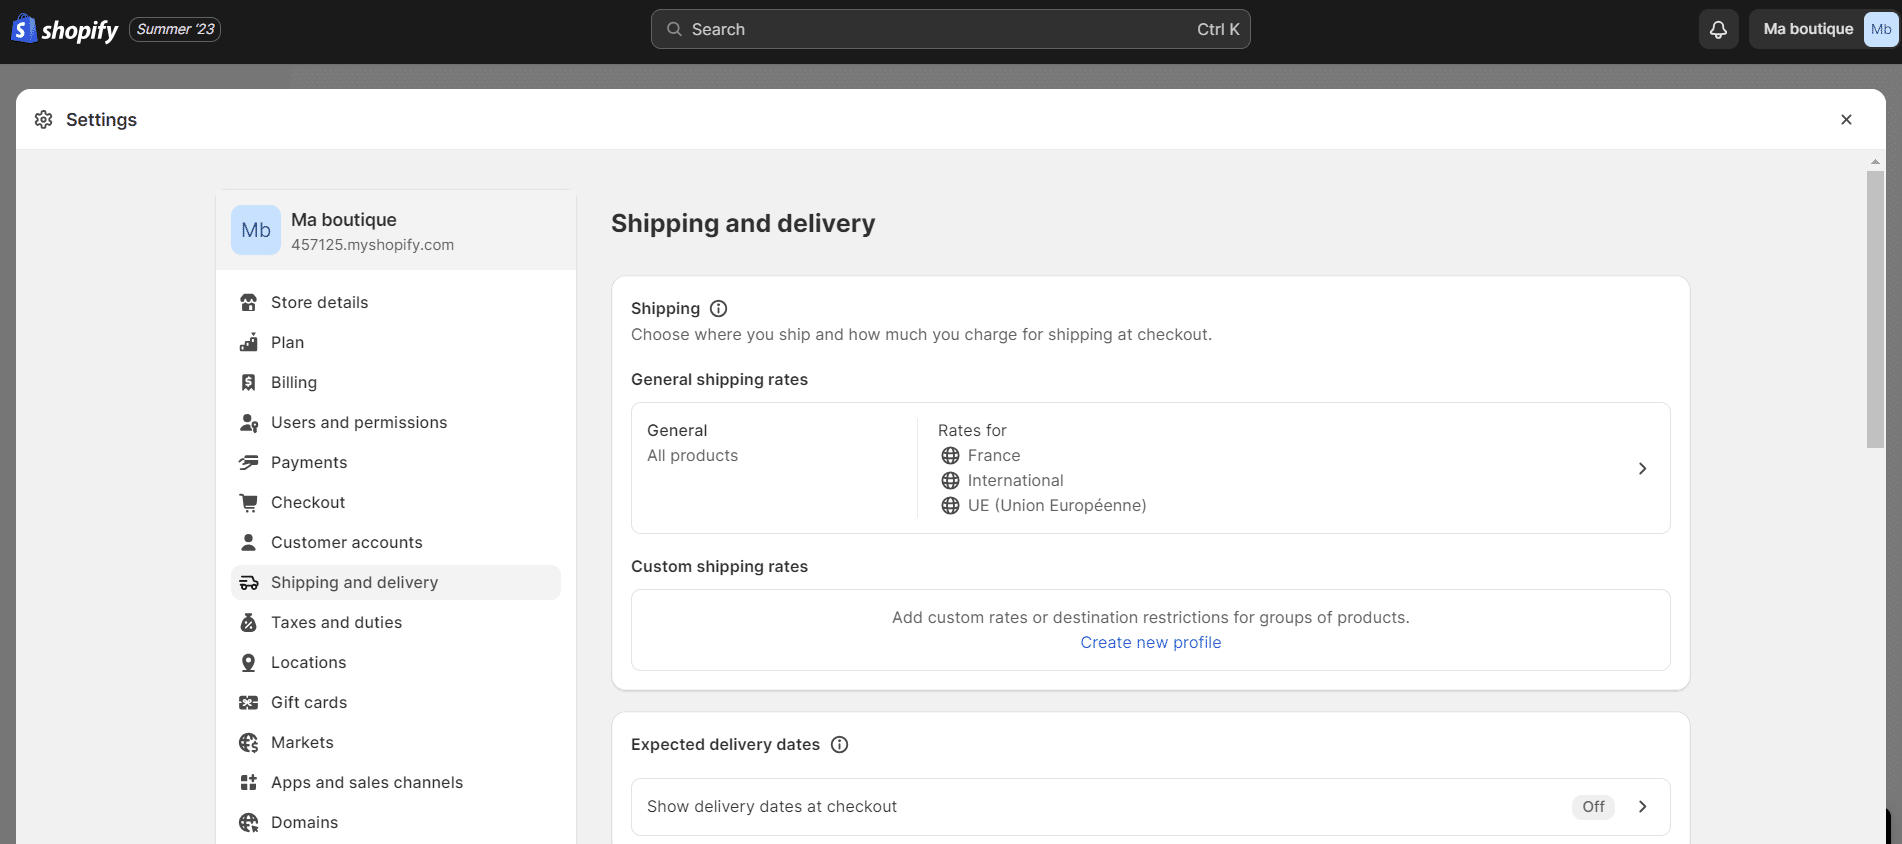
In the “General shipping rates” section, you can define shipping zones by clicking on “Add shipping zone”. 🌎 You can select the countries concerned for the zone defined.
You can also define taxes based on the price or weight of the order. For example, you can set a €10 tax for orders over €50 for a specific country.
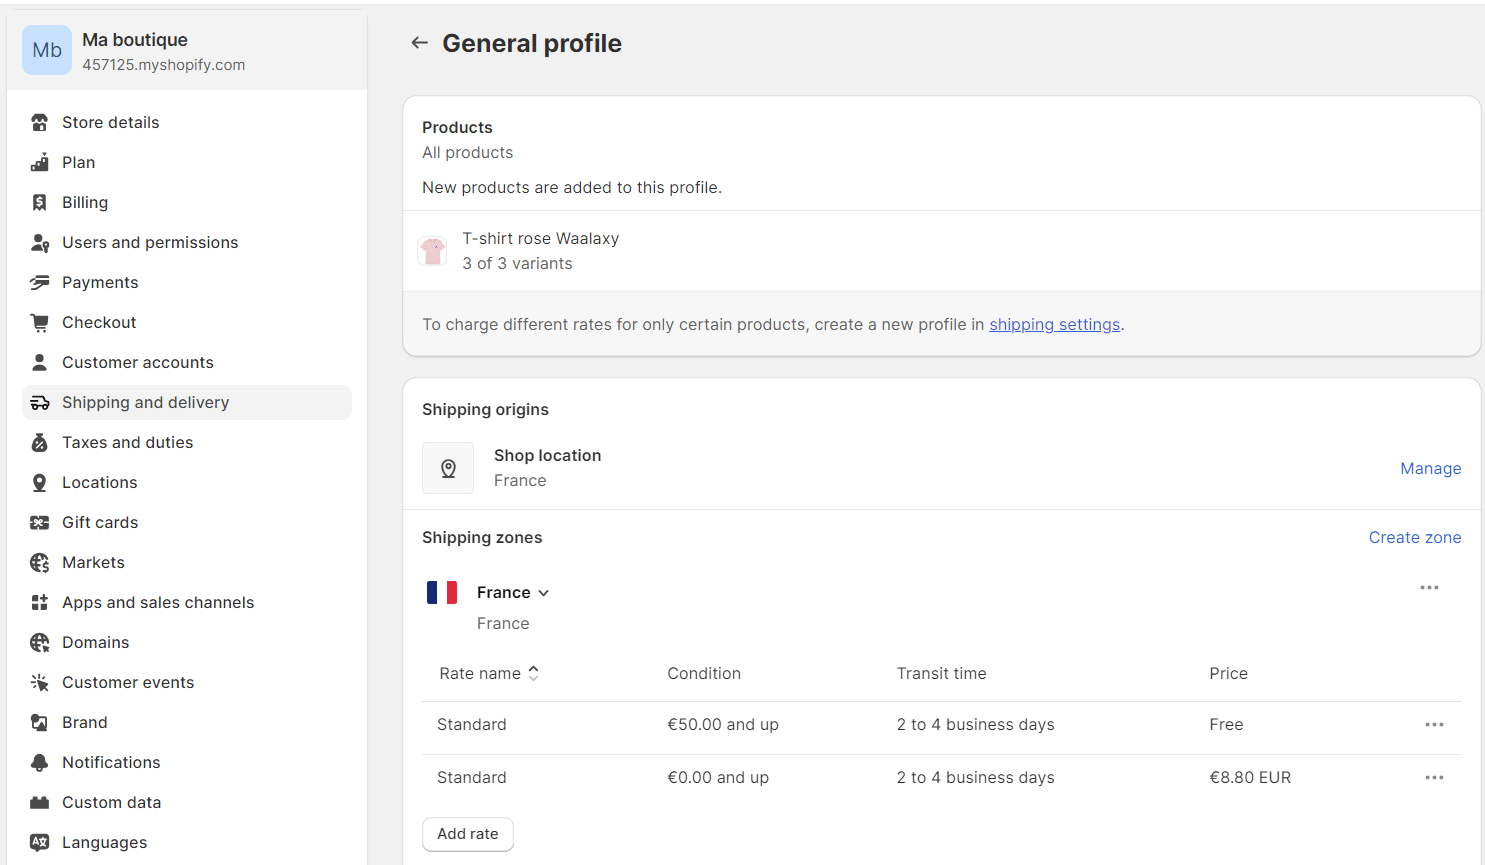
Note 💡: Most carriers charge according to the size and weight of the parcel. So try to use the smallest packaging possible.
How do I set up taxes in a Shopify shop?
To sell your products, you also need to manage the taxes you collect: 🙈
- Go to “Settings” and click on “Taxes and customs fees”.
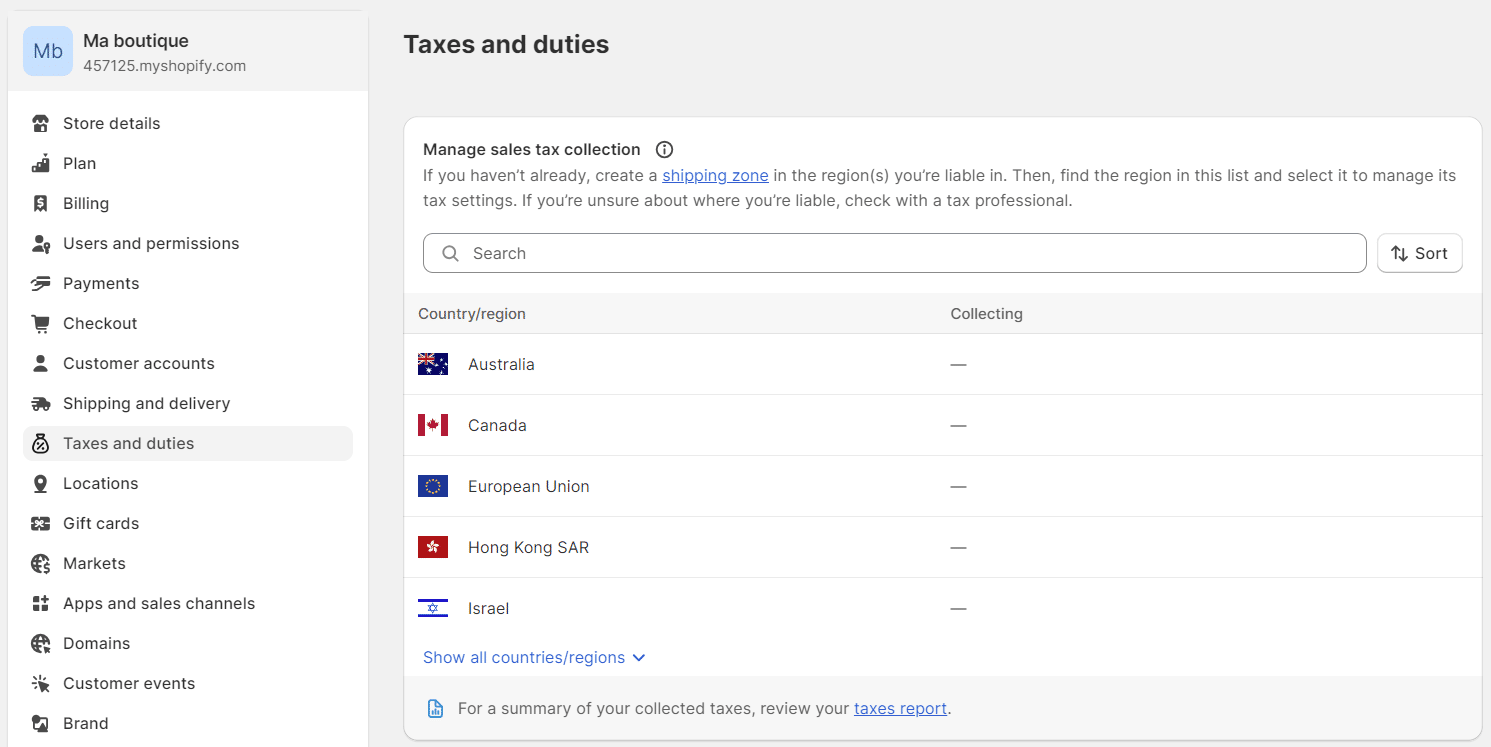
- Under “Decide how tax is charged”, the “Include tax in price” box is automatically ticked. ✔️ This means that the prices displayed on your Shopify site already include VAT.

- In the “Manage sales tax collection” area, you can define the taxes applicable to a specific country, if required. The country is taken from the configuration of the shipping zone.
- Click on the name of a country to apply the tax to that country.

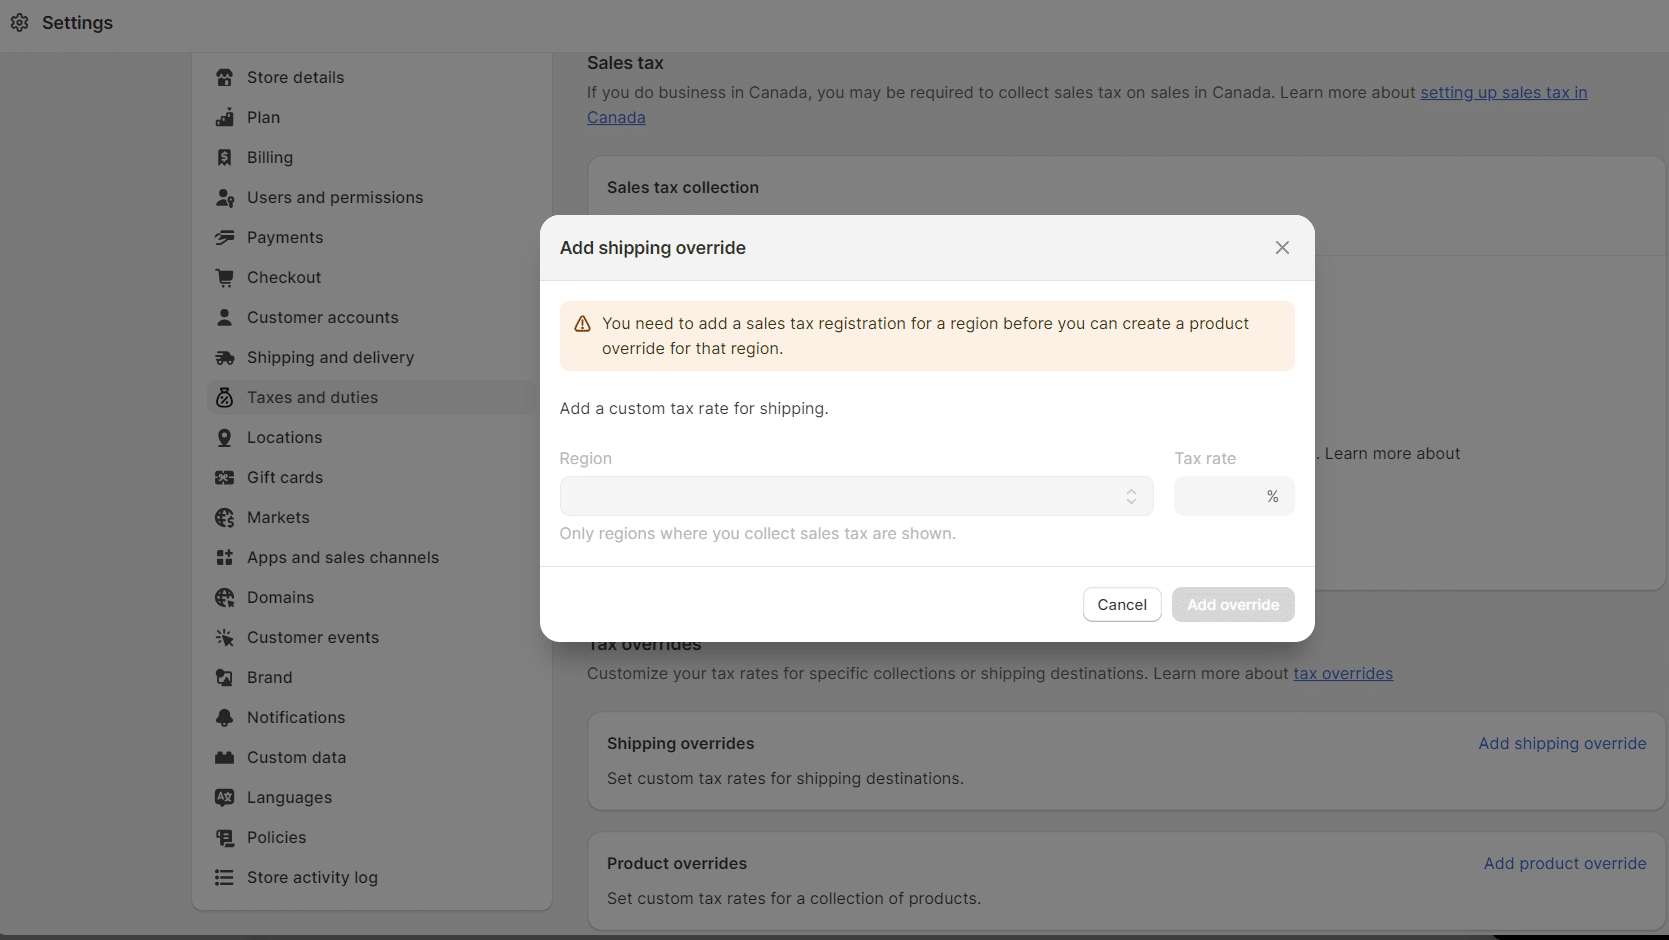
- Finally, by country, you can use “Tax overrides” to add taxes based on the product category. 👉 To do this, click on “Add an override applicable to shipping costs” or on the “Add an override applicable to a product” option.
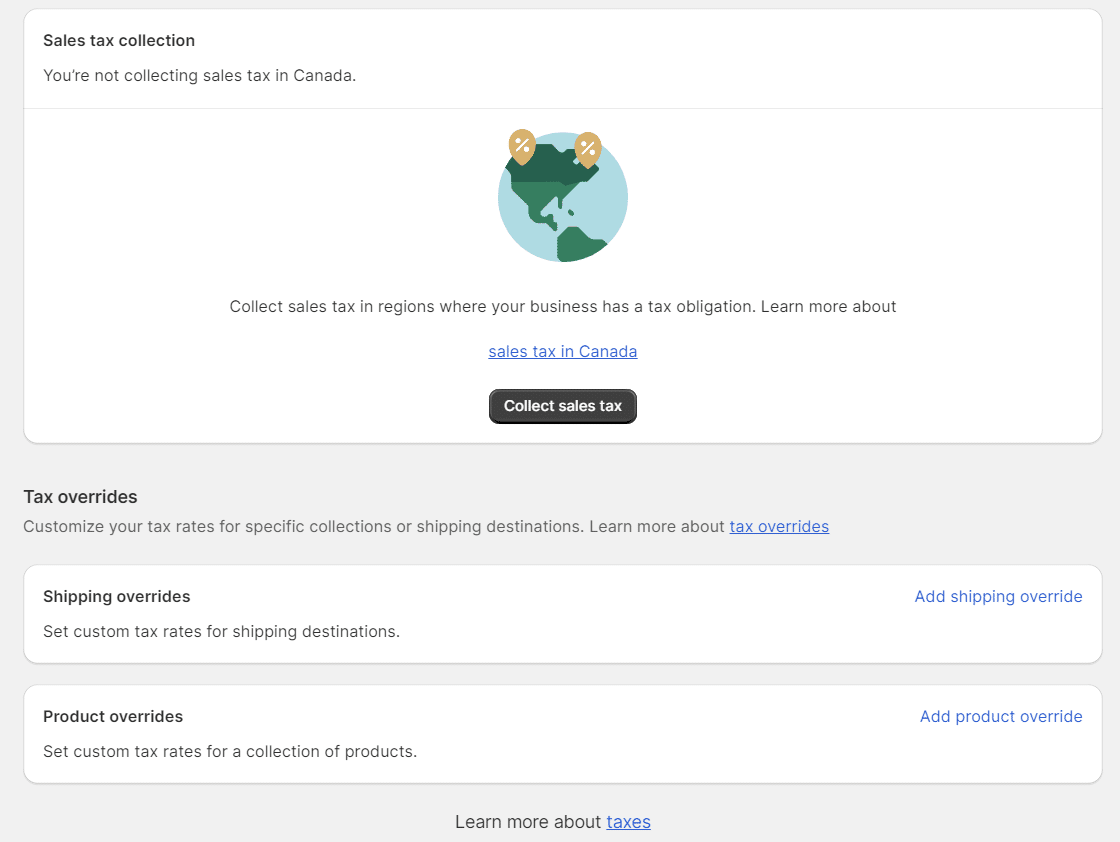
- Select a collection and enter the applicable tax. Then click on “Add override”.
6. Add discounts to your products
What’s more, an e-commerce site needs to offer discounts to its customers. 😏 Shopify makes it very easy to set up discounts
Let’s take a look at how to do it: ⏬
- First, go to “Discounts” in the left-hand menu and click on the “Create discount” button.
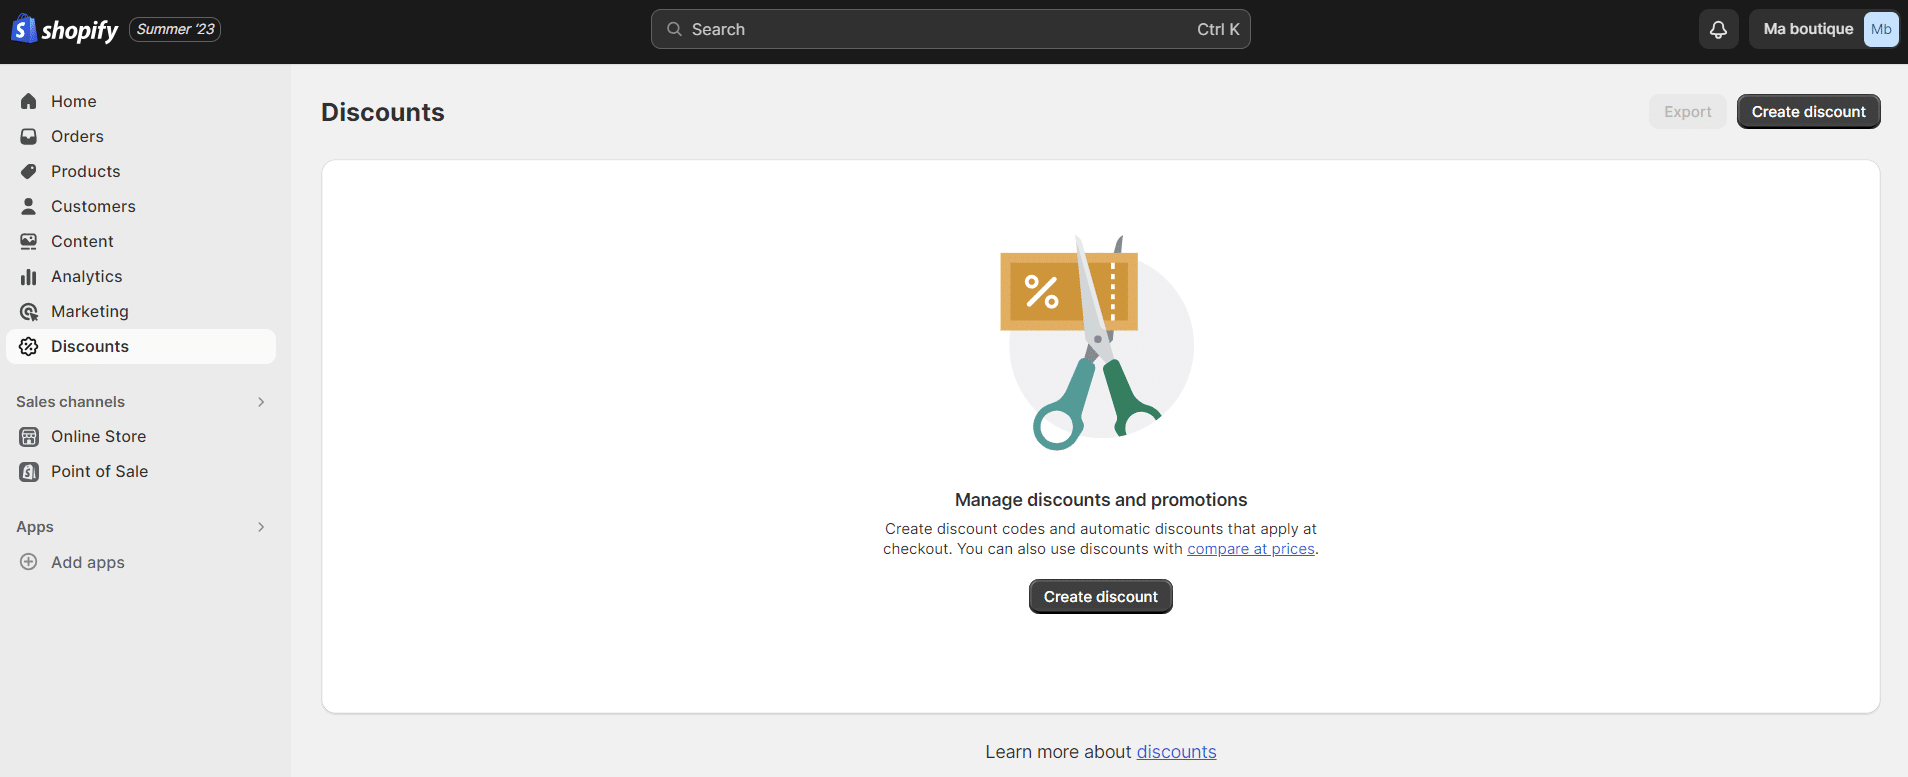
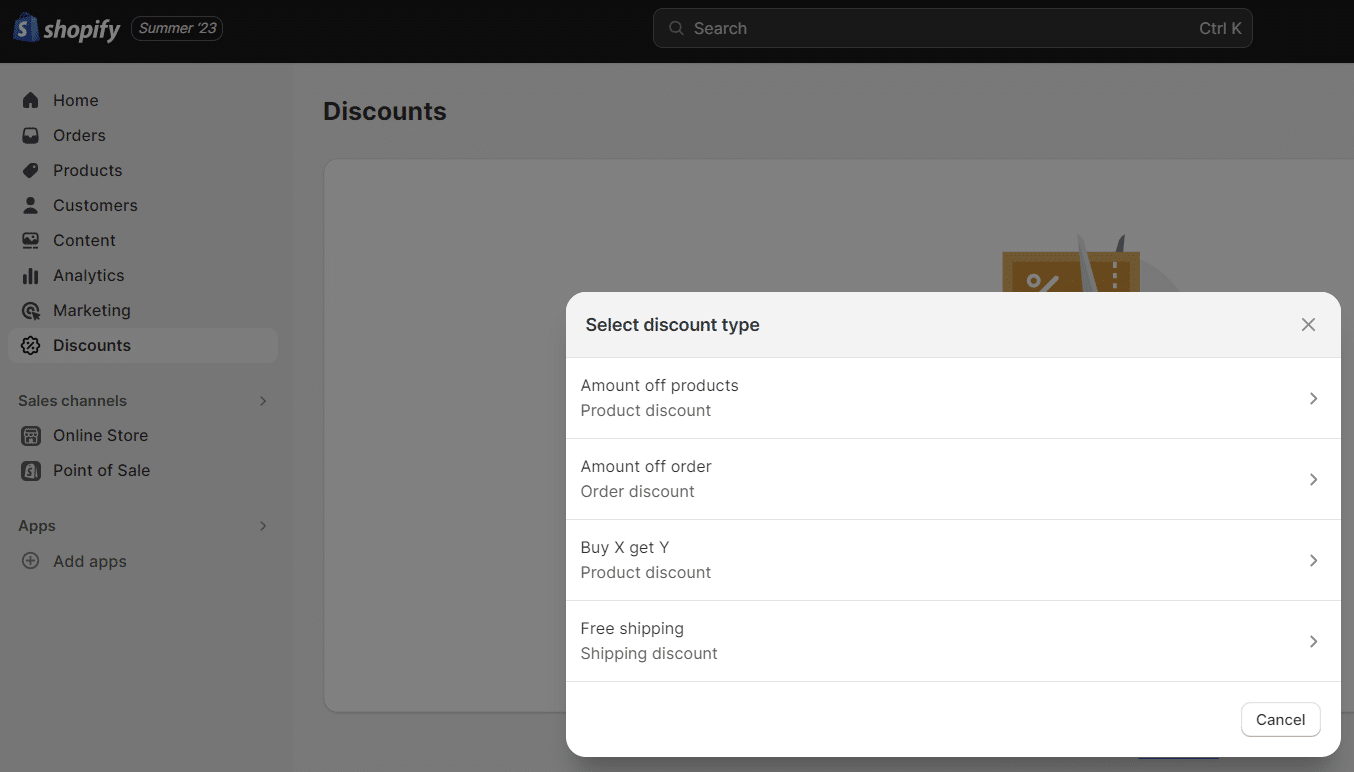
- Next, select the type of promotion you want to set up: 👇
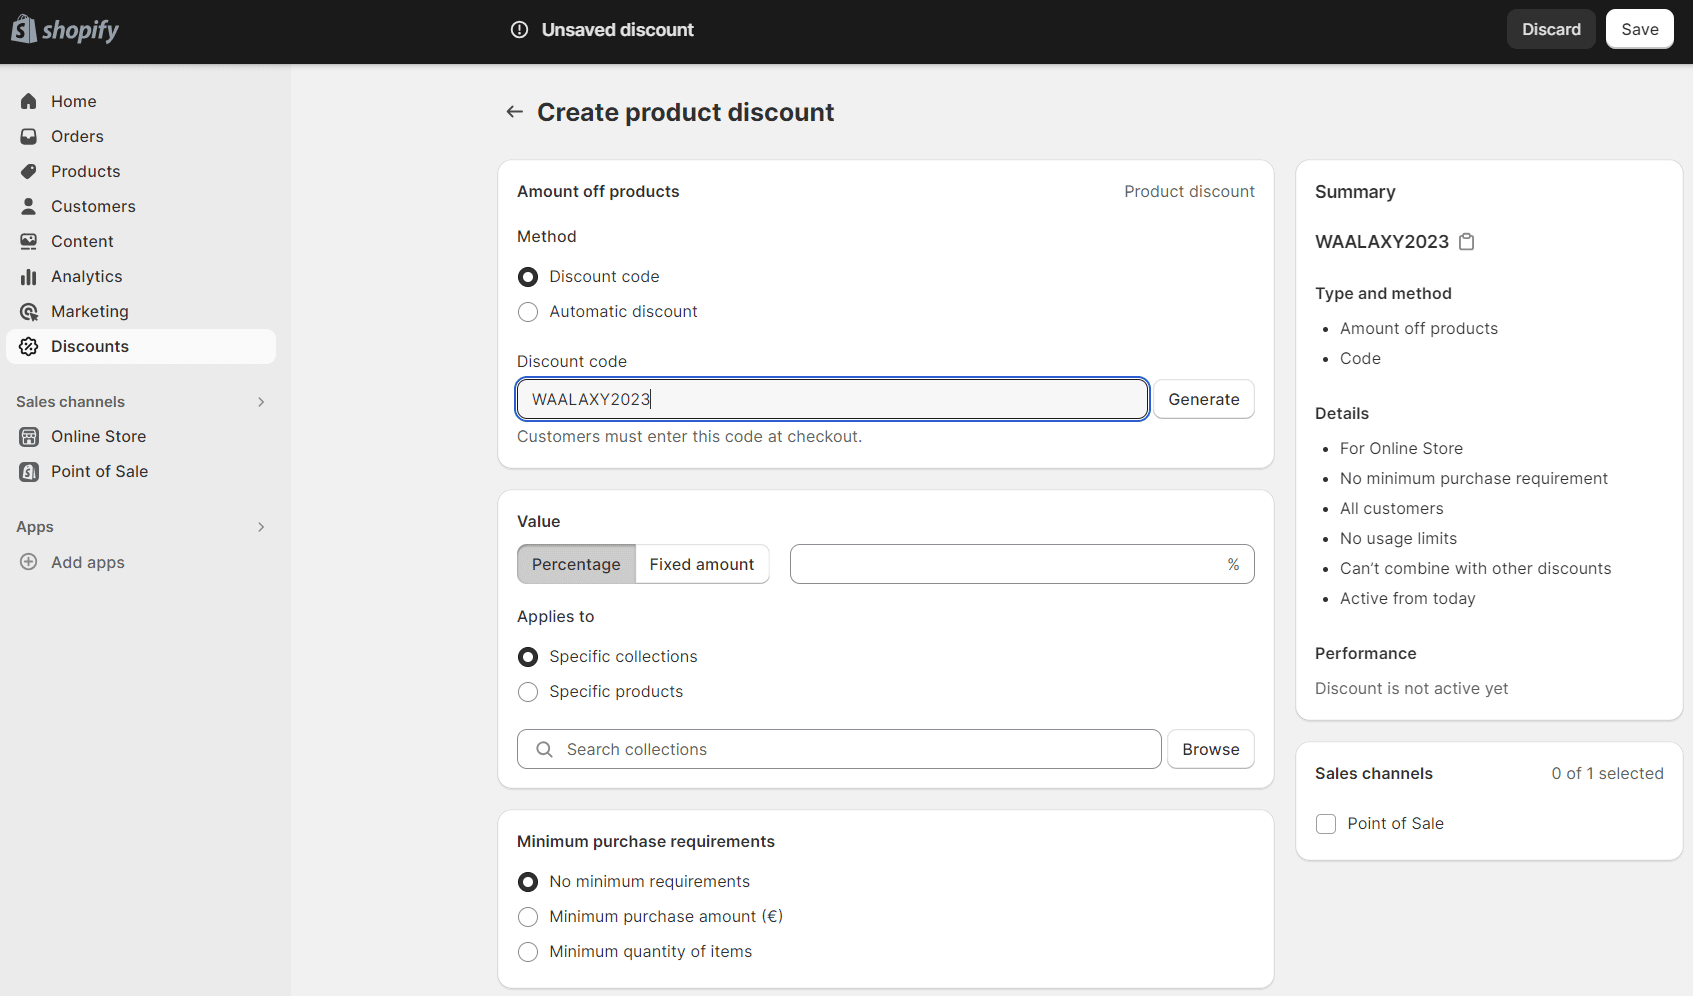
- “Amount off products”: enter the discount percentage in “Discount value” (“Discount value”).
- “Amount off order”: enter a fixed amount for the promotion in “Discount value” (“Discount value”).
- “Buy X get Y”: Enter the quantity purchased in “Customer buy” and the quantity offered in “Customer get”. Then select whether this promotion is by percentage (for example, “Buy the 2nd product -50%”) or by unit (for example, “Buy 2 products, the 3rd product is free”).
- “Free shipping”: select a country to ship to or enter a shipping amount in “Shipping rates”.
- Enter a name for your promotional code or click on “Generate code” to have Shopify generate a random promotional code, such as “WAALAXY2023”.
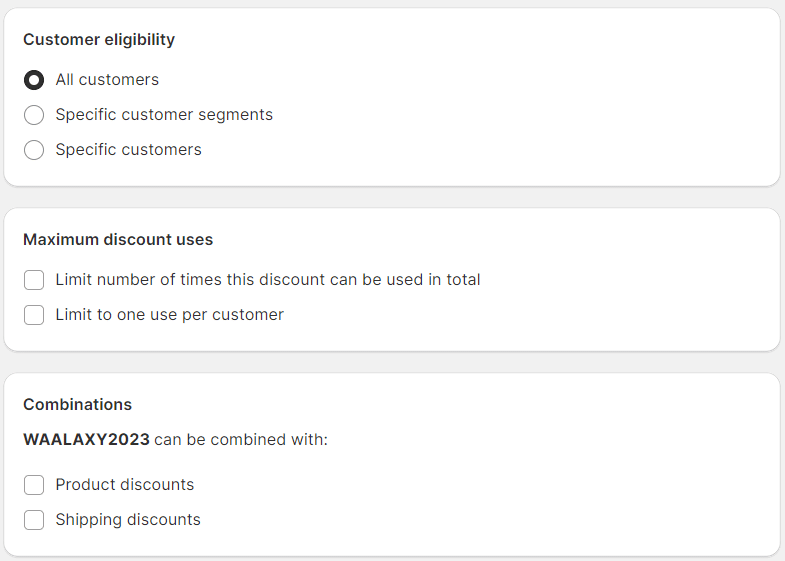
- Next, in the “Customer eligibility” section, select the item for which you want to define your ad: “all customers”, “specific customer segments” or “specific customers”.
- Then, in the “Maximum number of uses of the discount” area, you can choose the conditions for the promotion to be applied. ⌚ For example, you can choose between a specific purchase amount or a specific purchase quantity.
- You can also limit the use of the promotional code in this section. For example, one promo code per customer, but also make “Combinations” of discounts. 💫
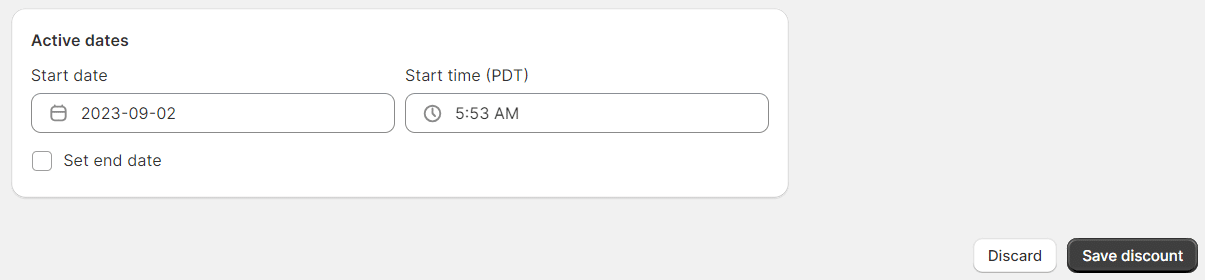
- The last element you need to define for your discount is the validity date in the “Activation dates” area (“Activation dates”). You can choose the exact start and end date of your promotion.
- After all these settings, don’t forget to click on “Save discount” (“Save discount”) so that it is applied. 👏
7. Choose new points of sale in Shopify store
By default, your products will only be sold in your Shopify “Online Store” and “Point of Sale”. You’ll see them displayed in the “Sales channels” menu. 📣
If you want to sell your products on other platforms, go to “Settings” and click on “Applications and sales channels”: ⏬
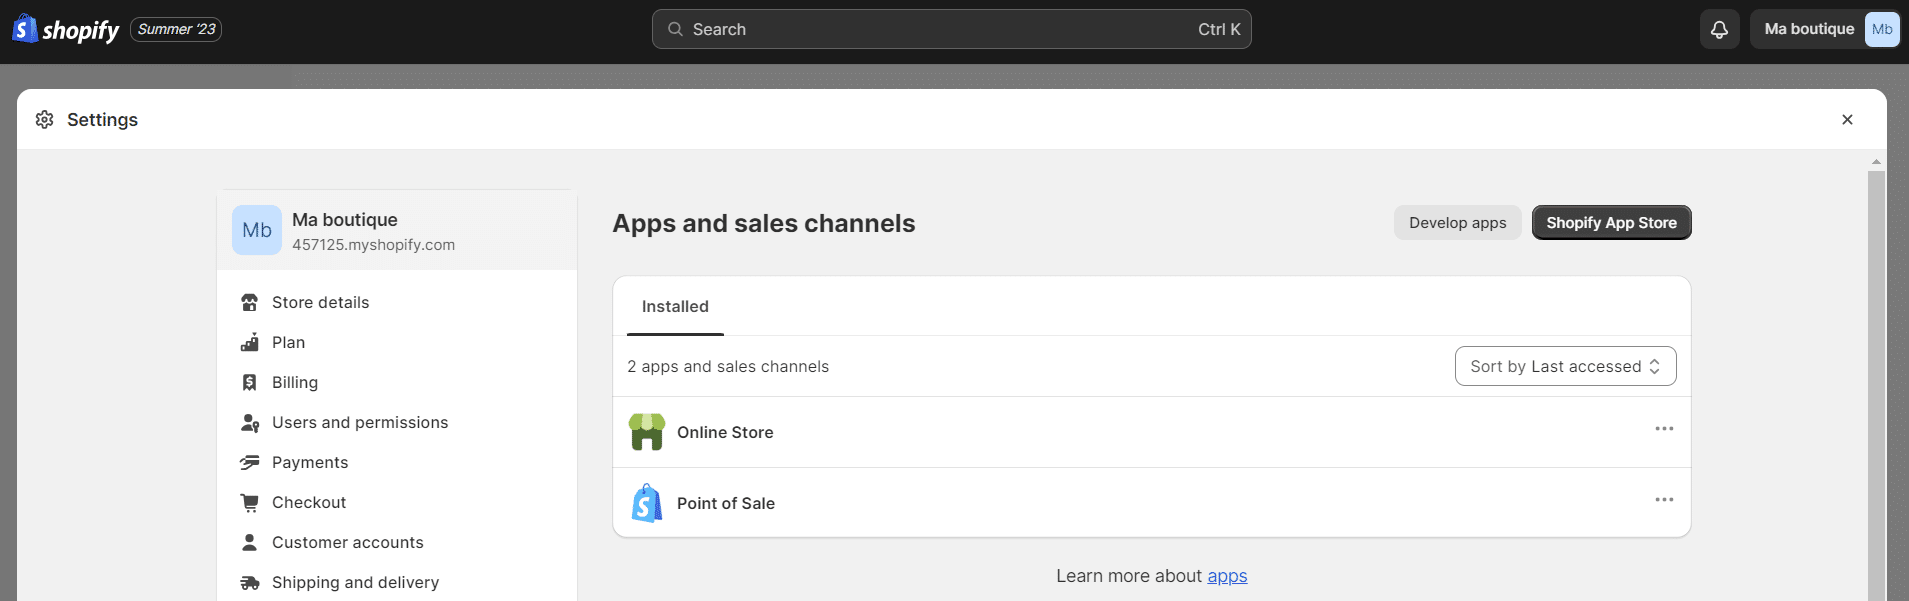
- Then simply click on “Shopify App Store” to add a sales channel and select a new sales channel such as Facebook, Instagram or Pinterest from the new page that will open. 🔍

These sales outlets will be added to the menu on the left and will need to be configured correctly. 👍
8. Test the order process
Shopify Store Example : Waalaxy
In this example, we created an online store to sell Waalaxy our own line of clothing. 😉
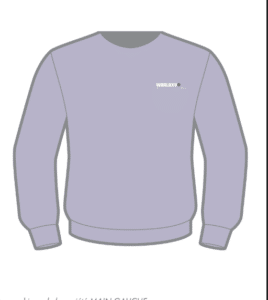
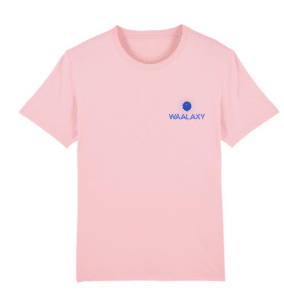
Do you like it? 🌠
Check the company information
Finally, for your website to work, you need to make sure that all your company information is entered correctly. 🥸
- To do this, go to “Settings” at the bottom left, and click on “Store details”.
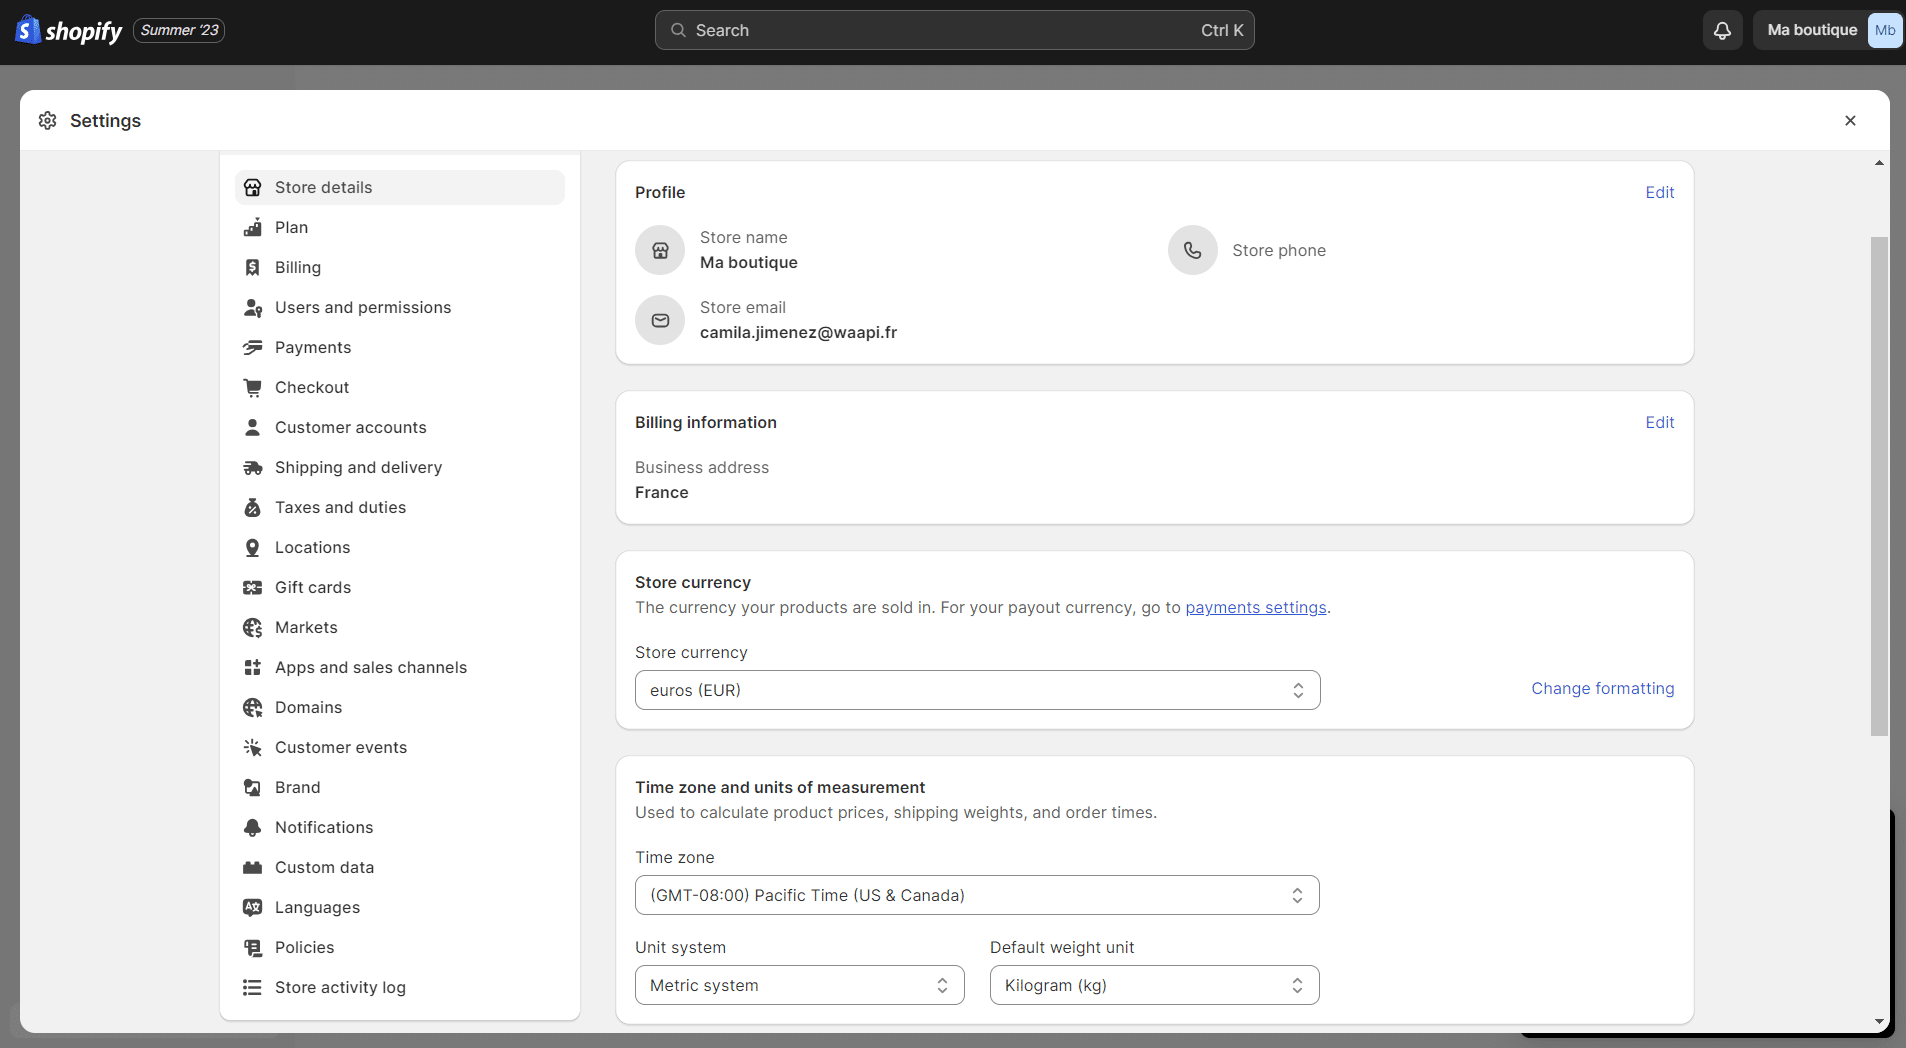
This information is usually entered when you sign up to Shopify. However, please check that you have selected the correct currency or that the address is correct. 📍
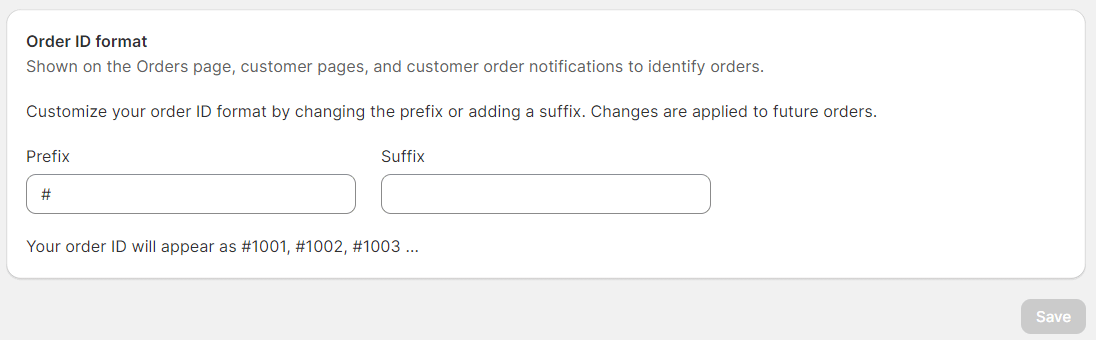
- You can also adjust the order numbering at the bottom of the page.
- Then click on “Save”.
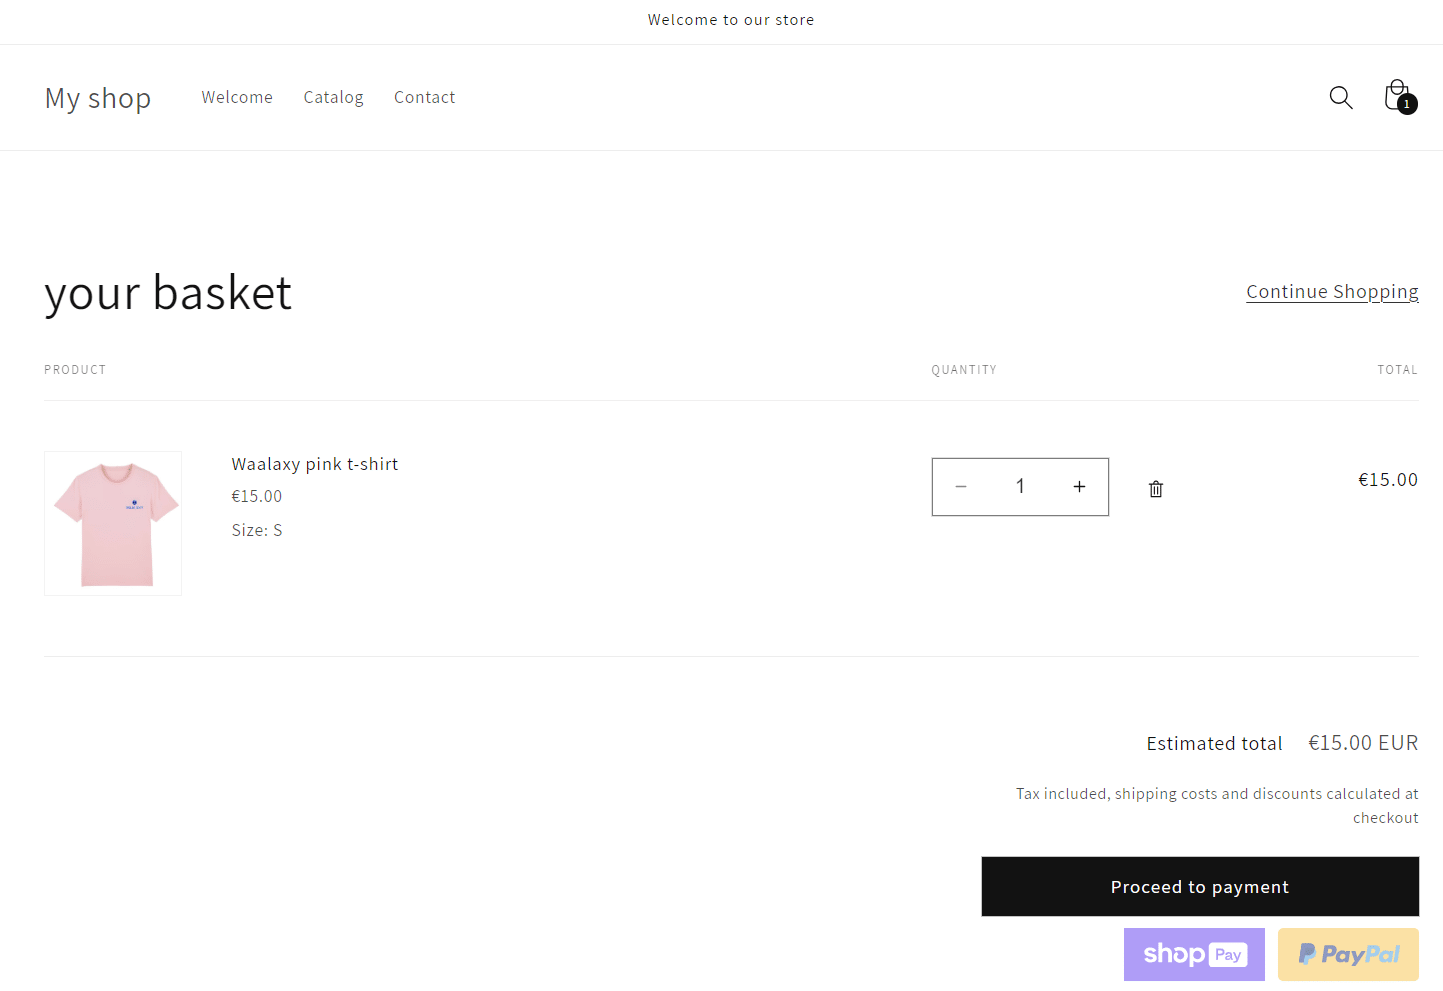
Place a test order
Once you’ve made these many configurations on your Shopify ecommerce site, it’s important to make sure everything works. 🛞
A customer’s first purchase from your online shop should go well. If it doesn’t, you risk driving away your first customers. 😭
- Go to “Sales channels” and then back to “Themes” to be able to “View your store”.

- Now visit your online shop and place an order as if you were a customer. 😍
- Once the fake payment has been made, you can return to the administrator and see what’s happening in “Orders”.
Don’t forget to cancel your order once the test is complete to avoid any unnecessary stock-outs. 😓
Well done, you’ve reached the end of this tutorial! 🎉
[maxbutton id=”73″ ]
Conclusion : How to Set up Shopify Store?
In this guide, we’ve seen lots of features in order to set up a Shopify store. 🤩
If the order process has worked well, and you should be able to set up your online shop!
What’s more, you can also integrate a live chat to offer an even richer customer experience.
Think about improving your search engine optimization (SEO), this will allow you to find your shop more easily in search browsers and also think about speeding up the loading of your mobile pages. 📱
FAQ: Shopify Online Shop
What is Shopify shop?
Since its creation in 2006, Shopify has quickly established itself as the new solution for developing online shops. 👌 Its ease of use has won over many e-commerce novices and professionals alike.
Unlike PrestaShop and Magento, Shopify is not available as an open source solution, but operates in B2b SaaS mode. 🏪 This means that Shopify is installed on a remote server, so you cannot install it on your own computer.
In addition, a subscription is required to maintain your e-commerce site with Shopify. 💲 You can test the platform for 14 days, which gives you time to create your shop and explore Shopify’s many features.
How to close Shopify store? How to delete Shopify store?
If you no longer need to operate your online shop, you can delete it at any time. 🤐 Once your shop is deactivated, you will no longer have access to your Shopify admin interface. If you want to log back in, you’ll need to enter your credit card details and reopen the shop.
Deactivating your online shop will prevent you from creating a new online shop with the same “myshopify” domain. You can create new shops with the same name, but the “myshopify” domain is unique for each shop. 🧐
Here are the steps to follow: ⏬
- From your admin interface, go to “Settings” > “Package”.
- Click on “Deactivate the shop”.
- Select a reason for deactivation and click “Continue”.
- Enter your password and click on “Deactivate now”.
You will receive an email confirming that your shop has been deactivated. 👋 You can always open it again or consult your invoice history. Your shop information will be kept for two years. You can also reopen it and suspend the package.
Shopify stores for sale: How to buy Shopify store?
“Shopify Exchange” was a marketplace where you can buy an existing Shopify shop. 💡 You can view the list of Shopify shops that are for sale on Exchange. It contains data about the traffic generated and the revenue of these shops.
This information is true and cannot be changed by the shop manager/seller, so potential buyers can be assured of reliable data that matches the realities of the online shop. 📈
This platform is no longer available… 😅 But there are other sites that offer these services too!
Migrate Shopify to another Shopify Store: Can I have several Shopify stores?
Yes and no… Shopify doesn’t have a “multi-stores” feature that allows you to manage multiple shops with a single Shopify account. 😬 However, businesses can have multiple Shopify accounts with one shop per account.

Perfect! Now you know everything about how to create and manage your Shopify store. 😍