- How Waalaxy creates its sales tunnel with the 6-step lead magnet?
- Step 1: Create quality blog content
- Step 2: Creating the lead magnet
- Step 3: Where to promote the Waalaxy lead magnet?
- Step 4: Collect visitor contact details
- Step 5: Sending the lead magnet
- Step 6: Lead nurturing
- Step 7: Analyze your data
- Article conclusion
- Frequently asked questions
Before we start this article and give you our secret Waalaxy lead magnet recipe 🤫, you may not be aware of this is ?
Formerly ProspectIn, Waalaxy is an automation and prospecting tool on LinkedIn. In the form of a Google Chrome extension, it allows you to automate your qualified lead generation on LinkedIn and by email (in the form of automatic mailing campaigns, invitation requests, sending bulk messages, Inbox and so on…).
The goal? 🤔
Easily find new customers and get as many responses as possible. 🎖️
Now that you know what it is, we can start the article? Perfect 🤩.
How Waalaxy creates its sales tunnel with the 6-step lead magnet?
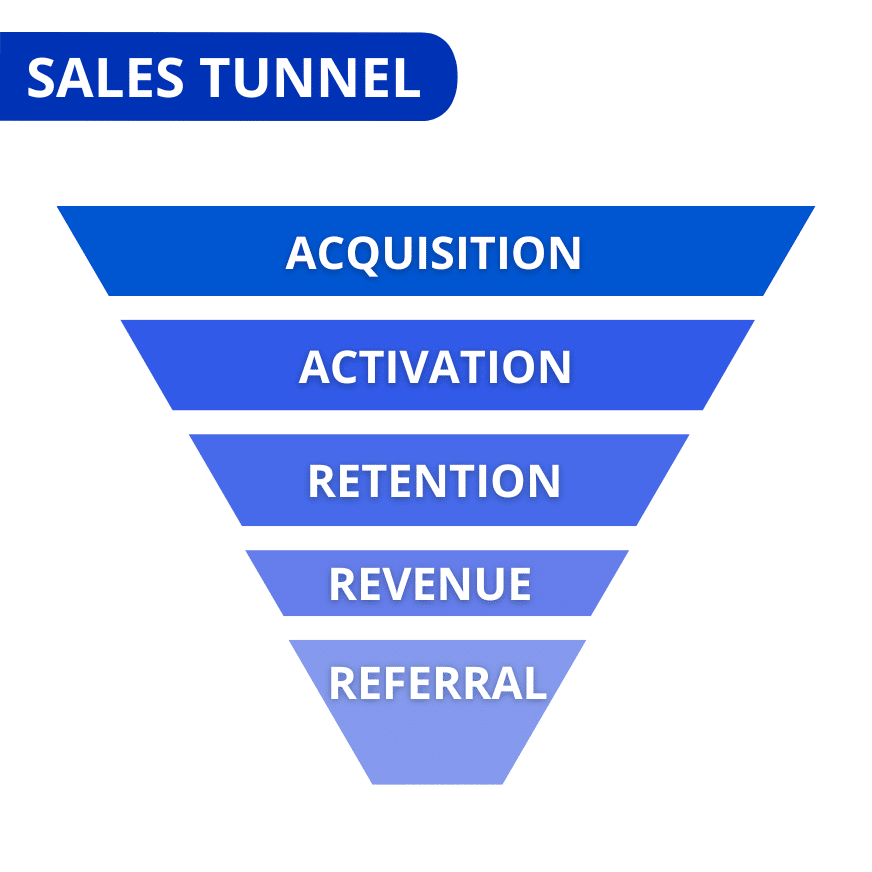
Briefly, do you know what a sales tunnel is? No, okay, here’s a quick description. 👇🏼
It allows you to accompany the user throughout the purchasing process, including helping them find information and answering any questions they may have, so that they end up buying your product or service.
If ever we made a dedicated article on the subject please take a look. 👀
With this in mind, we have decided to explain to you in 6 steps how we create our sales tunnel using the lead magnet. 🧲
Well, let me sum up what we intend to do here in a few points:
- 1️⃣ Create SEO content.
- 2️⃣ Creation of the lead magnet.
- 3️⃣ Where to promote this lead magnet?
- 4️⃣ Retrieve visitor contact details.
- 5️⃣ Send lead magnet.
- 6️⃣ Aspect lead nurturing.
- 7️⃣ Data analysis.
Article produced in partnership
Before we begin, we’d like to tell you that this article was produced with the help of Colas, in charge of lead generation strategy at Waalaxy 👽.
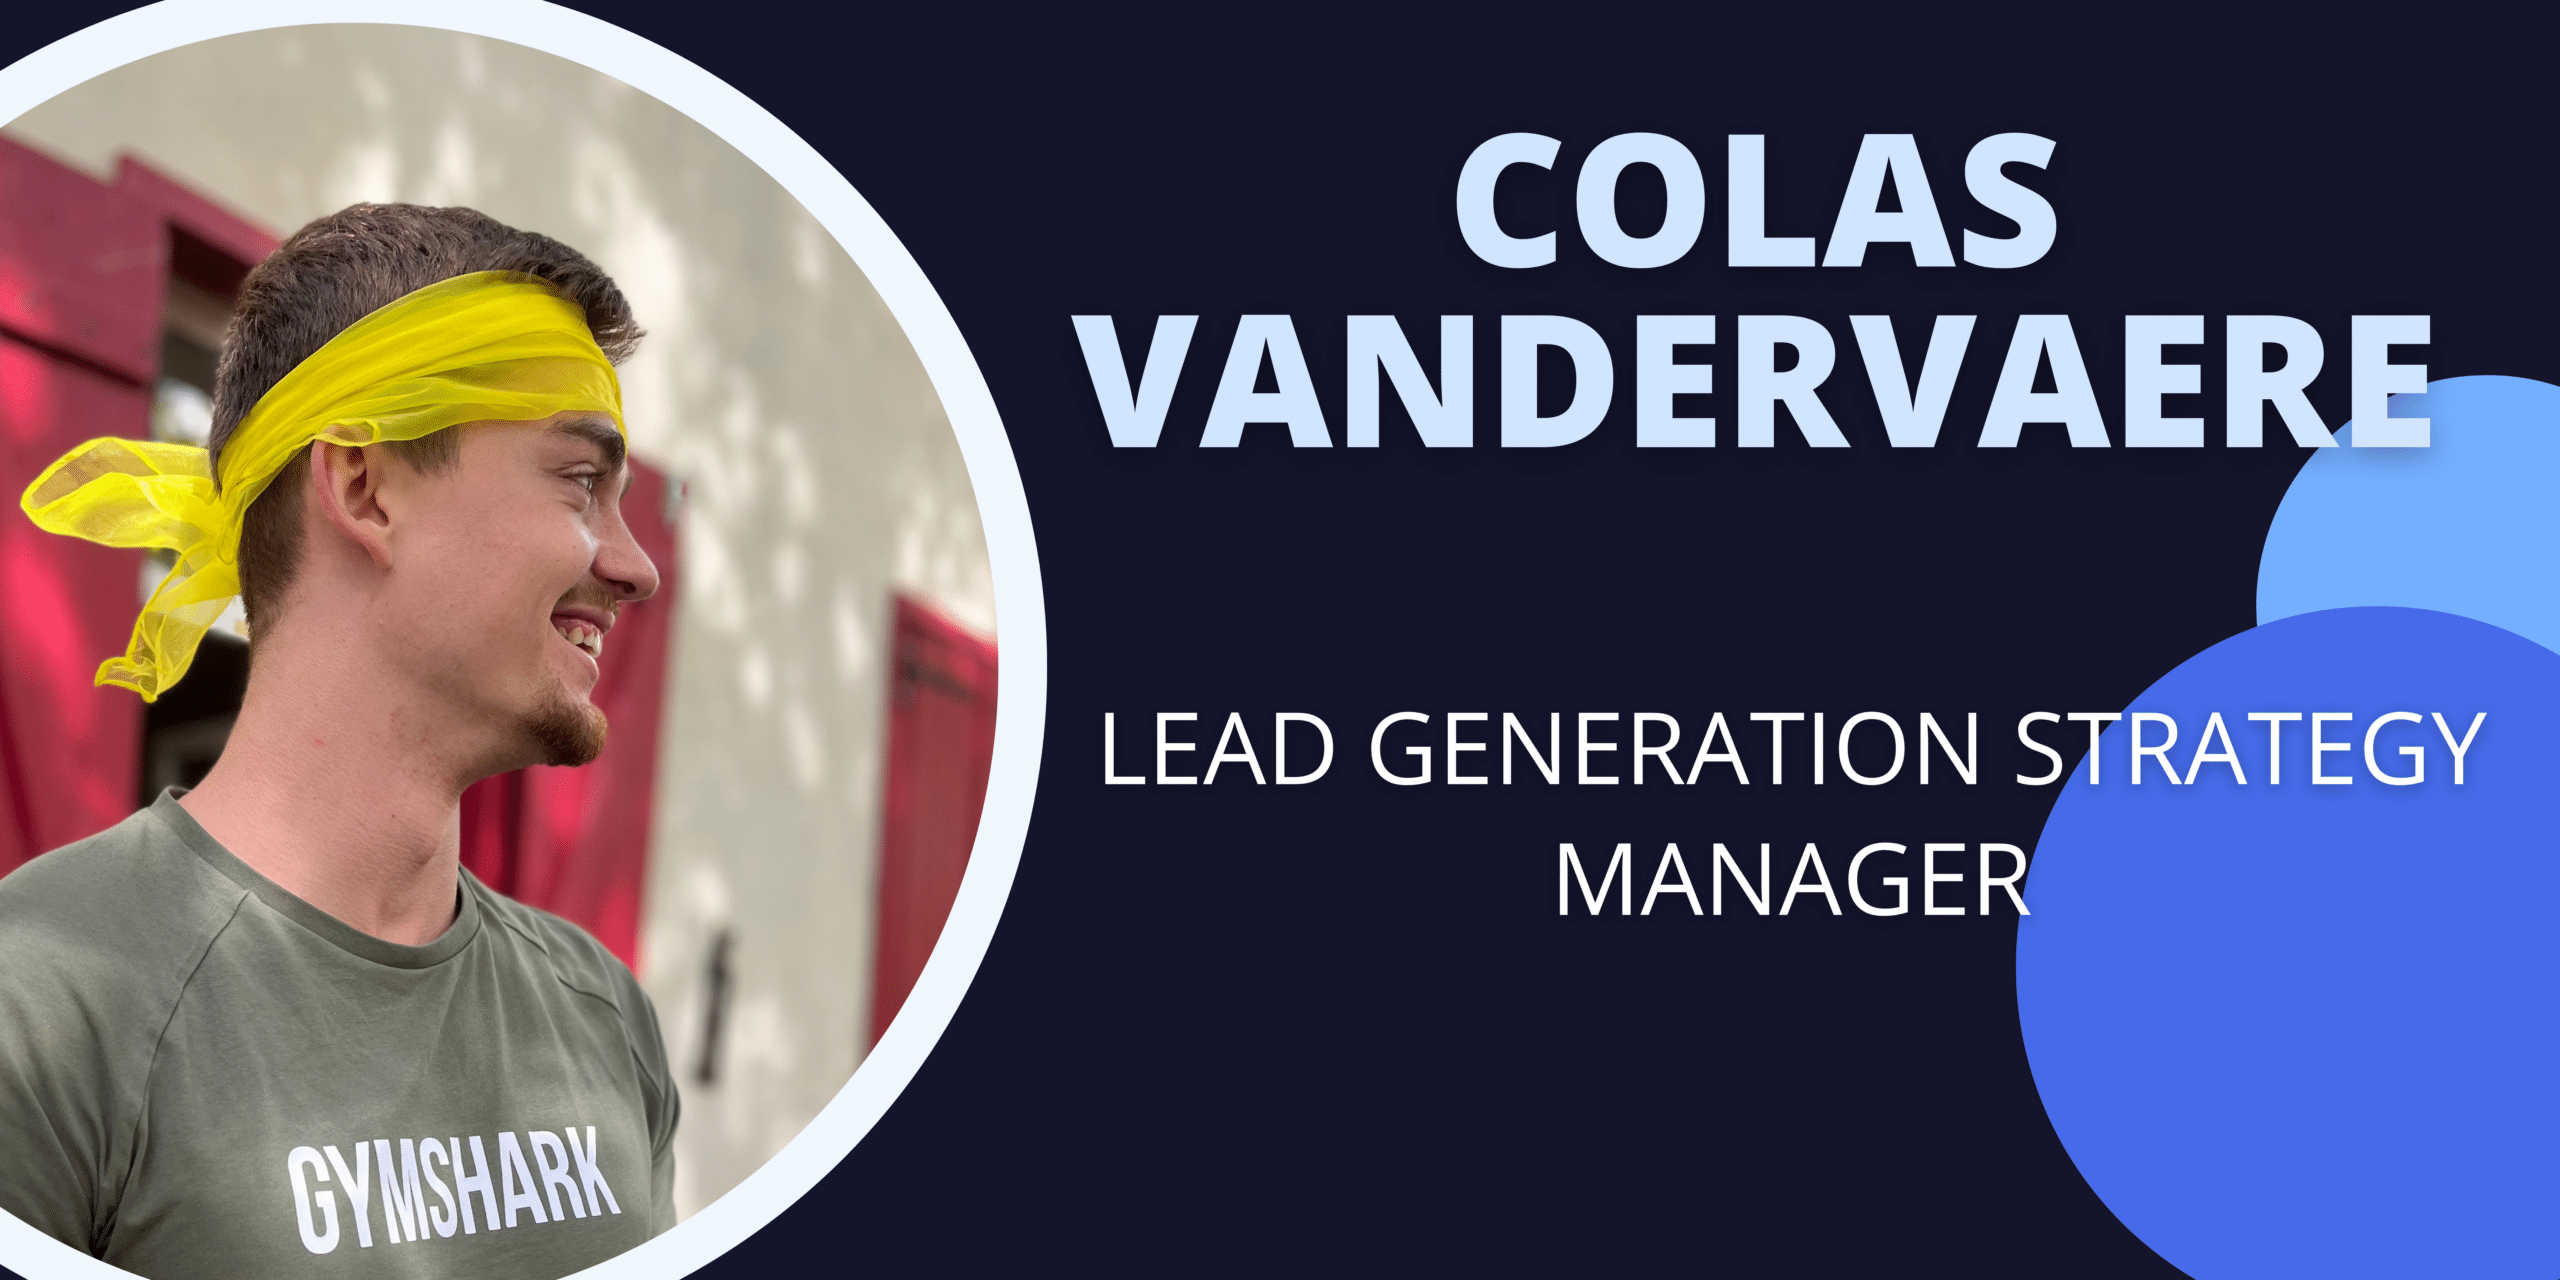
In life, he loves :
- 🏋🏼♂️ Bodybuilding
- 🐓 Proteins.
- 🫱🏽🫲🏼 Meet new people.
Let’s not delay any longer, sit back, take some notes, extra popcorn 🍿 and let’s go!
Step 1: Create quality blog content
For any automated sales tunnel, you need a traffic source. 👀
With us, it’s the blog. Yes, we have a blog, the one you’re reading this on. 😅 It lets users see what we do.
Inside, we write about a wide variety of subjects, such as :
- 🟣 LinkedIn.
- 🔵 Marketing.
- 🟣 Comparison of digital tools.
- 🔵 Communication.
- 🟣 Social networks.
- 🔵 Recruiters.
- 🟣 Freelancers.
- 🔵 Tutorials from our tool.
Inside, the articles are 100% free, with no advertising whatsoever, and the aim is to inform and create content that people want to read.
Step 2: Creating the lead magnet
This is exactly when lead magnets soon come into play. 🎭 Once a prospect reads one of our articles, they become a lead. cold. 🥶
Nevertheless, if you’ve been following along, our goal is for it to now become warm. 🥵
So we offered him a lead magnet. There are many different types, the main ones being :
- ✅ The checklist.
- 📧 The contact form.
- 📔 The e-book.
- 📊 Computer graphics.
- 📖 The white paper.
- 🎥 The webinar.
This lead magnet must comply with all the rules, such as thinking for the user, redirecting to another article, thinking about the user’s current search intention, and so on.
Which lead magnet do you think we used? 🤔
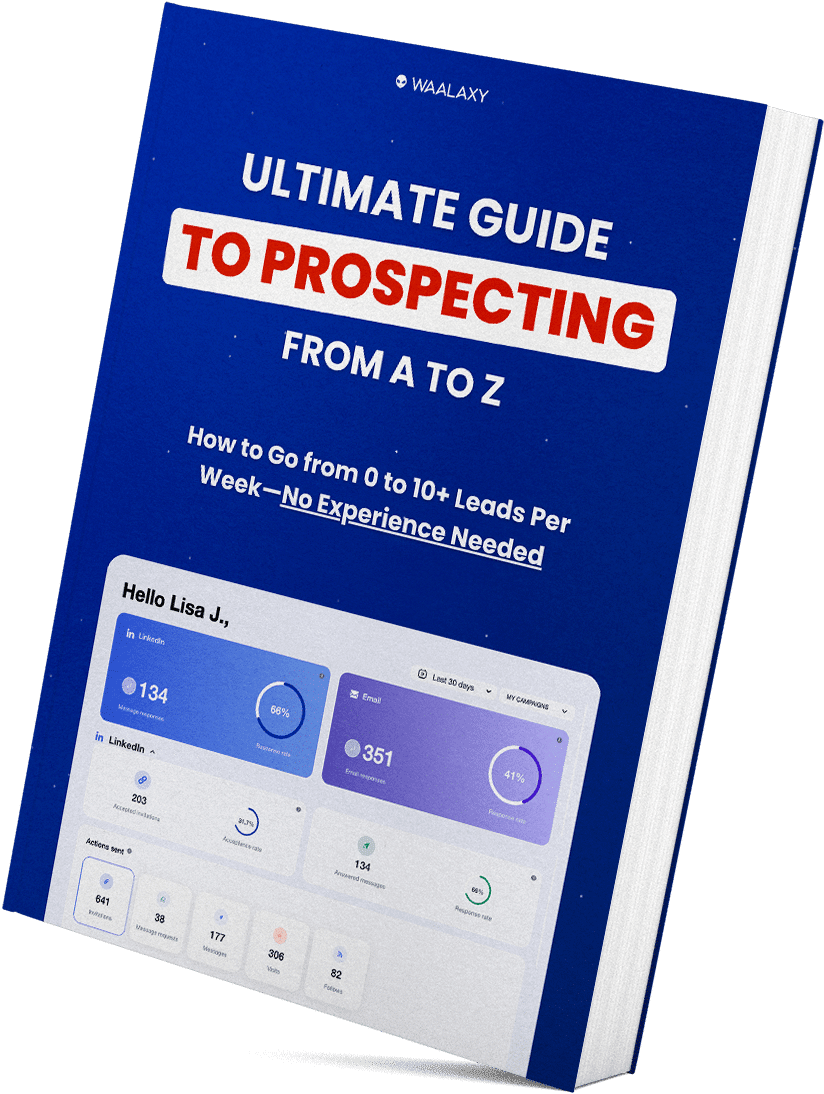
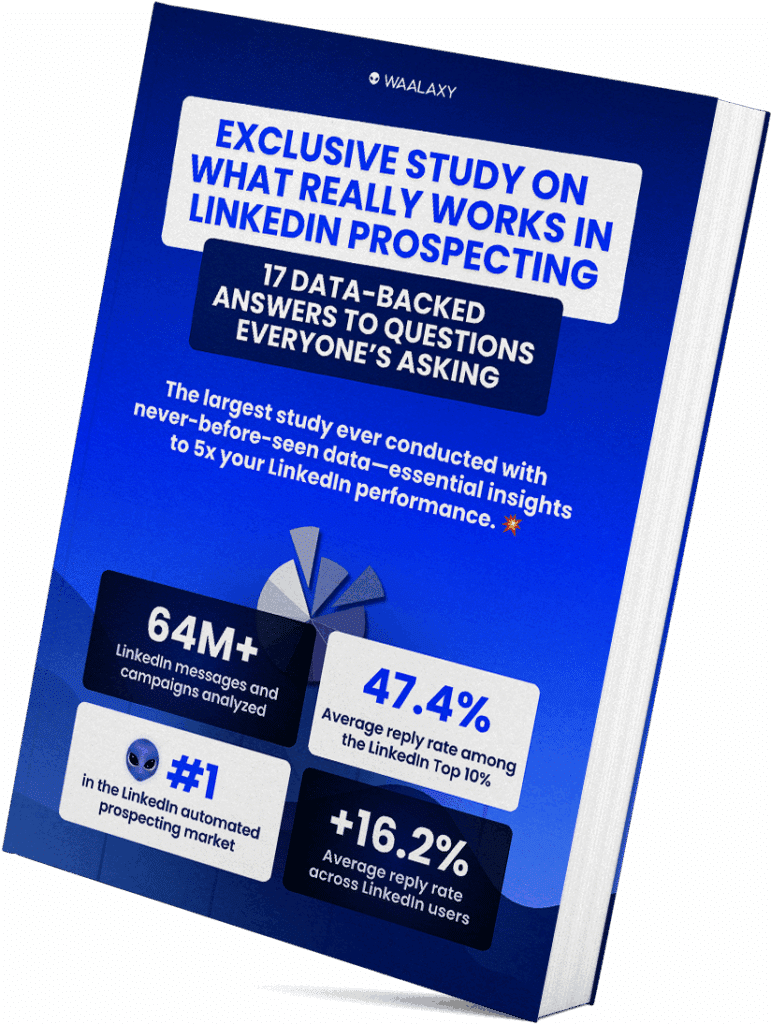
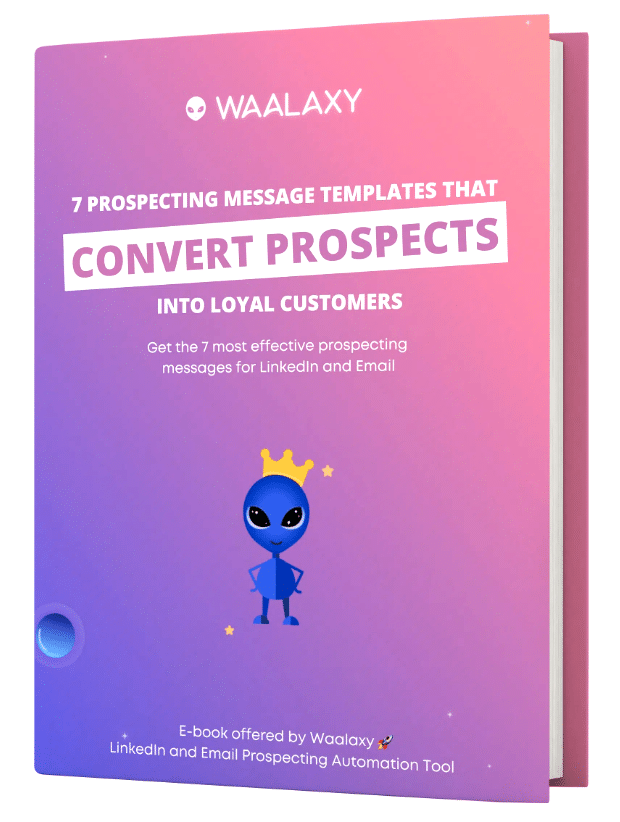
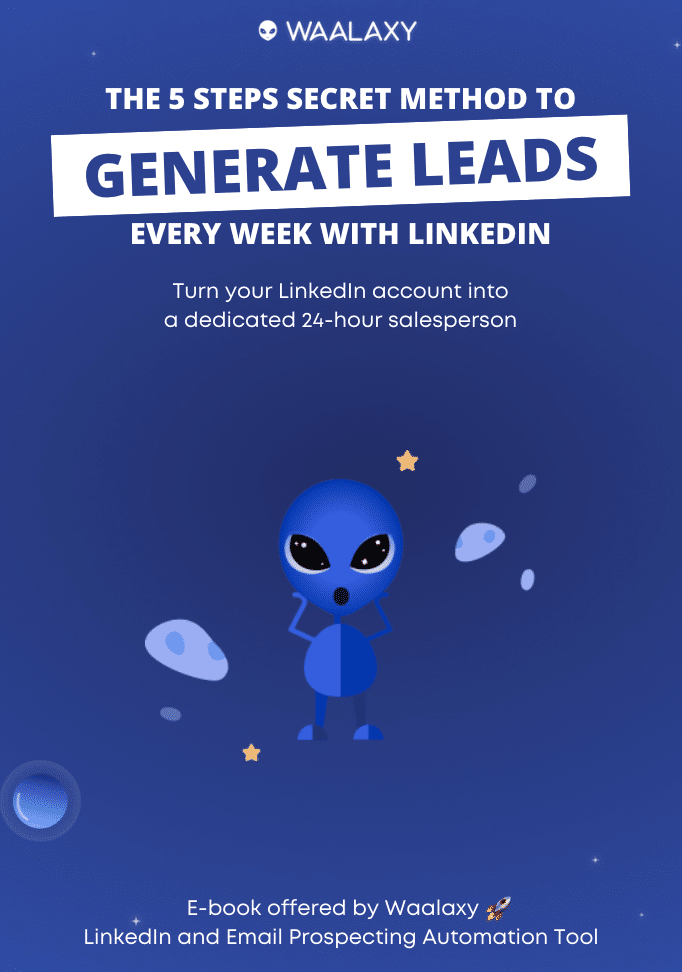
The e-book! That’s right, we created it using the Canva. Here’s a sneak preview 😉.
Step 3: Where to promote the Waalaxy lead magnet?
There are several ways to sell your lead magnet. For our part, we tested 4 different ways, here they are :
- A full-page pop-up that appears on the screen.
- A contact form at the end of the article.
- A link integrated directly into the header.
- A banner in an article that says “click to open pop-up and download”.
- A contact form on the home page.
Colas returns. 👇🏼
- Link in header + banner during article + home page = approx. 1%.
- Contact form at the end of the article = 18%.
- Full-page pop-up = 81%.
So, taking into account results we stuck to the full-page pop-up that appears on the screen. 🌞
Minute hack
As we love to spoil you, we are giving you a few little tips which we’ll be rolling out on the blog in the near future. ⬇️
Don’t hesitate to put the pop-up on the whole page, not just part of it, because by default it’s there, the user will close the content. Here, it will instinctively read thinking it’s a bug. 👀
In addition, don’t hesitate to replace the cross to close the pop-up with a more impactful message such as :
- 1️⃣ I don’t want the e-book.
- 2️⃣ I’m not interested.
- 3️⃣ No, I don’t want any.
Finally, to avoid bogging down your user with a pop-up that opens as soon as you open the article, you can set up a system that displays it only once. every two weeks. 📆
Step 4: Collect visitor contact details
It’s all well and good to create a lead magnet, but you’ve got to be able to send it somewhere. 🔎
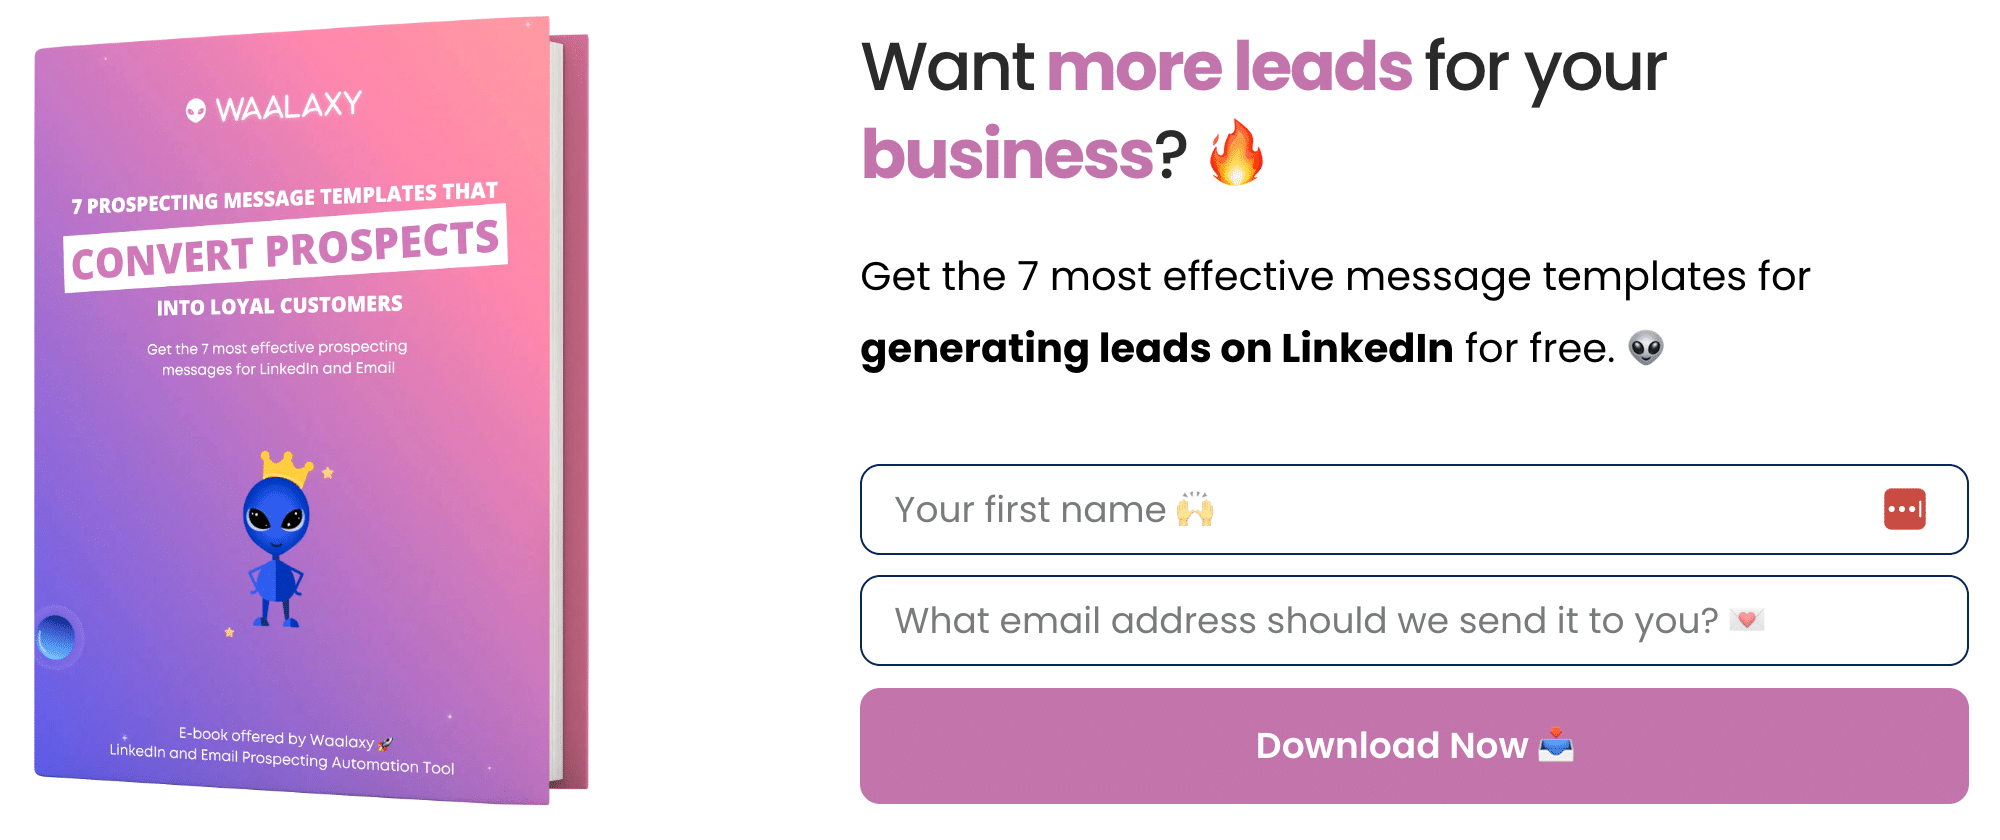
That’s why you need to put a little contact form next to your e-book with a clear, strong and attractive message that makes your user want to download it. Here’s an example. 👇🏼
Step 5: Sending the lead magnet
Now that your pop-up is complete and your user has entered his or her contact details the magic can finally happen. 🪄
How do we make magic? 🤹🏼♂️
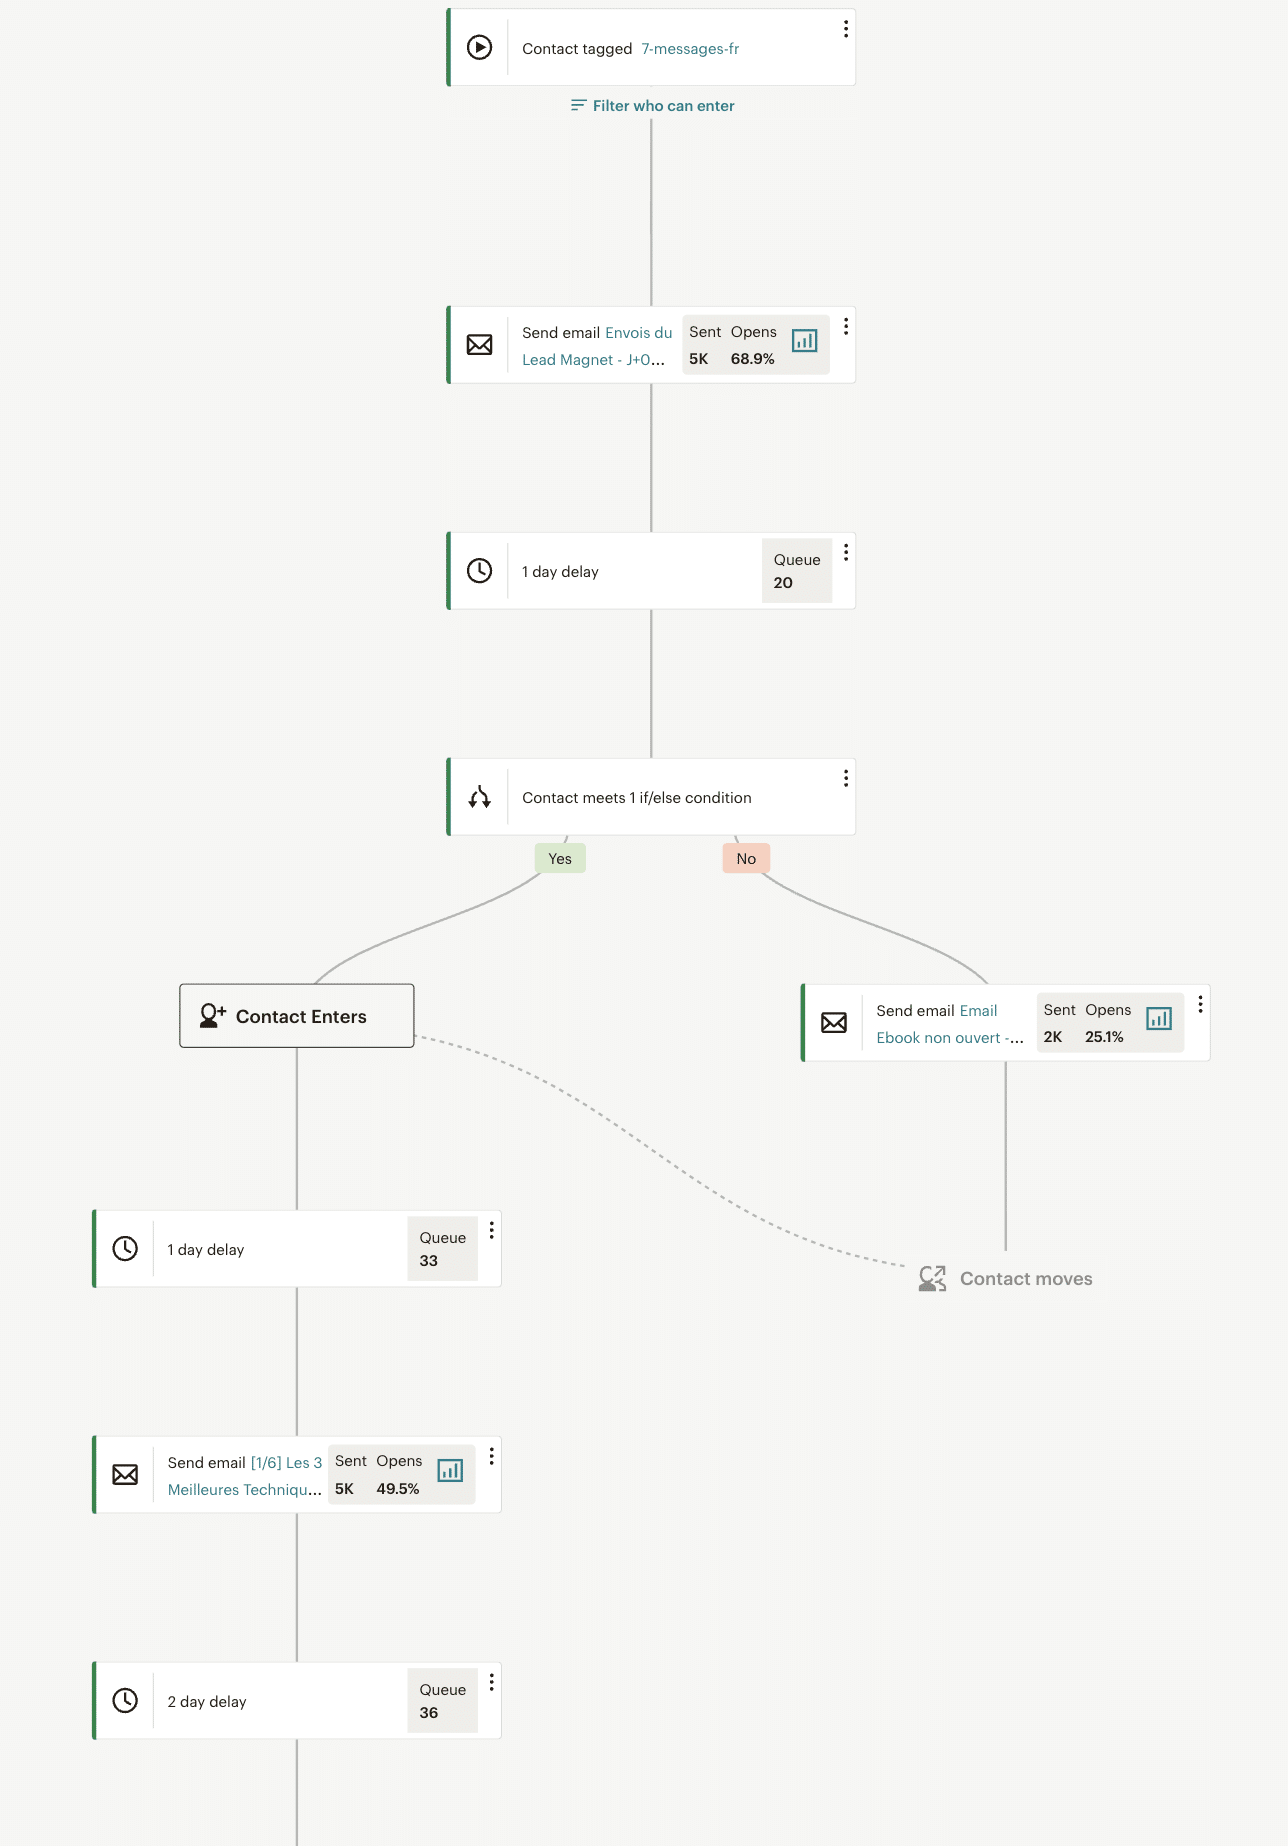
We use Mailchimp and have integrated a API. Okay, a few clarifications are in order:
- The API sends the user’s contact details directly to Mailchimp.
- They arrive with a tag according to their type of persona (freelancer, recruiter, company director, etc.).
- A mail sequence is created according to its typology.
- An initial e-mail is sent according to the lead magnet, with a clear, concise tone, including the e-book and a multi-step course related to the lead magnet.
Here’s a sneak preview of our API on Mailchimp 👀.
Minute hack
The “little hack” minute is back. ⏱️ Let’s hear from our very own Colas International.
Step 6: Lead nurturing
One of the most important steps in this stage is the lead nurturing.
What does this mean? 😎
Simply put, you’re going to give your prospect all kinds of information, training him on what interests him most, so that he has all the weapons 🪓 to succeed in what he wants to do, such as the prospecting.
We want him to know how to prospect and, above all, to use Waalaxy 👀.
In the end, he’s happy, and so are we! 🥳
How do I do it? 🤨
Chief Colas, the honor is all yours 🫡.
- You send an e-mail sequence.
- You convert the person with a link.
- He reads content that he appreciates and that is relevant to his strategy.
- It goes from lukewarm to warm prospect.
- He knows Waalaxy and what it can do for him.
- He has to buy your product.
Then ask yourself the following questions:
What questions does your audience ask most? How do you compose your e-mails?
Then you’ll prioritize them according to which are the most important. important and create an e-mail that answers each of these questions.
💡 One mail = one question.
Shall we tell you how we did it at home? Come on, that’s what you’re here for after all 😇.
Example with Waalaxy
Okay, for this example, we’ll take “create a quality LinkedIn profile to convert”.
We have made a link to one of our articles on “how to make a LinkedIn profile quality”.
We want to turn and turn around the Waalaxy universe, with the sole ultimate goal that in the end, the prospect will be so overwhelmed by our product that he’ll want to download Waalaxy. 🛸
Then we added a few little elements to spice up our emails: 👇🏼
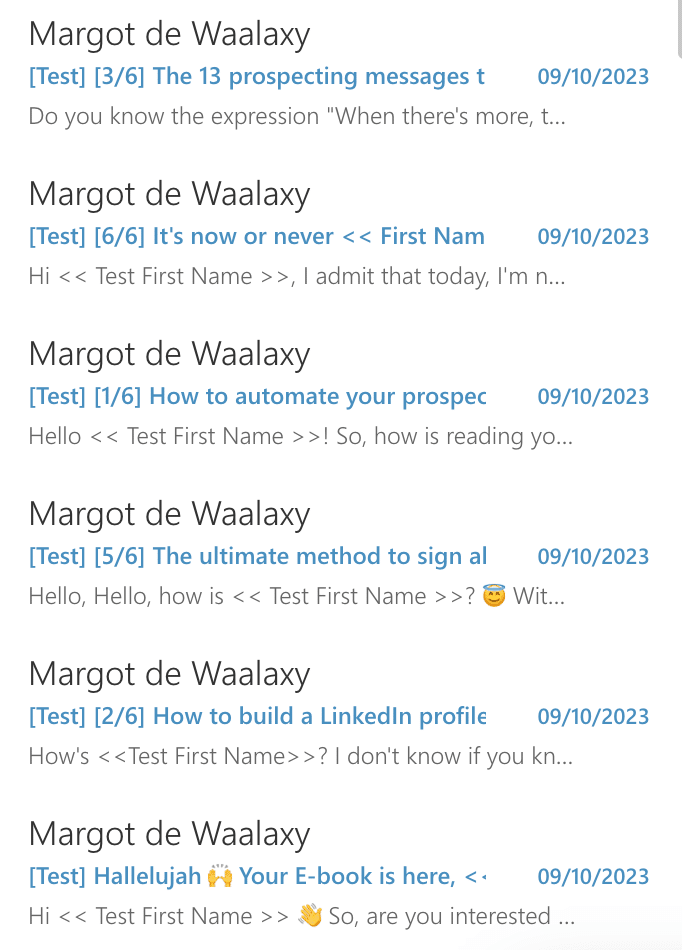
- 1️⃣ Mails are signed “Margaux” (a false identity we created), so that it’s a person in the box who’s writing and not the company.

- 2️⃣ The e-mail address, the profile is personalized under Margaux’s branding.

- 3️⃣ We ask the customer to send us an e-mail to let us know what they thought (and we often get feedback, here’s an example 🫣).

- 4️⃣ We sign the e-mail with Margaux’s photo (we made it up).

- 5️⃣ Finally, in the subject line, we put [1/6] and so on, because it makes you want to read the rest of the adventures. A bit like a story where if you want to know the beginning and the end, well, you need all the chapters. 🤩
Step 7: Analyze your data
To analyze our data, we built a dashboard, using Bubble in no code.
All in all? Link with Mailchimp and Zapier.
This is deconstructed in four parts:
- 🔵 S ales.
- 🔵 The e-book download over the last 28 days, with the option of viewing it on a weekly basis.
- 🔵 Audience growth.
- 🔵 Email data, filtered by language.
Our 6 KPIs to know
We prefer performance indicators following :
- 🔳 Where the downloads come from.
- 🔳 Click-through rate.
- 🔳 Sales.
- 🔳 Churn rate.
- 🔳 The number of payments this month.
- 🔳 Emailing open rate.
Article conclusion
This article is coming to an end, I know, already…
Let’s recap the steps together:
- Create SEO content.
- Creation of the lead magnet.
- Where to promote this lead magnet?
- Collect visitor contact details.
- Send lead magnet.
- Aspect lead nurturing.
- Data analysis.
I hope you’ve understood the importance of the sales tunnel within your company, and more specifically of the lead magnet.
In our case at least, it earns us nearly 10,000 euros a month. 👀
Frequently asked questions
Don’t be too hasty, we still have a few resources for you. send. 🫶🏼
Bonus: another little hack
With all these steps, we strongly recommend that you automate as many things as possible.
No one wants to have to write down every prospect’s contact details by hand on an Excel file every day…
That’s why, when someone enters their information in the form, we make sure that their information is automatically sent to the various Mailchimp APIs.
Last but not least, here are 3 more little tricks, as a gift: 🎁
- Send a promotional code in your first e-mail and, a few days later, send one again, mentioning “your promotional code only lasts 24 hours, so take advantage of it before it expires”.
- Turn your prospect into a newsletter reader(here’s what we say) ➡️ “We’re done with the prospecting training, but if you’d like to continue receiving information, don’t hesitate to subscribe to our Supernova newsletter“. ☄️
- As soon as someone replies to an e-mail sent by Margaux, it is forwarded directly to Intercom (the tool used by our support team to process customer requests).
And now you know all about the Waalaxy lead magnet. See you soon for new adventures. 👋🏼


