Welcome to Waalaxy x Sellsy Synchronization simple Tutorial.
In an effort to always save you time in your daily tasks, we have provided you with several Waalaxy x other tools synchronization tutorials. Today, it’s Sellsy CRM that gets its own tutorial. 😊 Here we go.🔥
What does Sellsy allow you to do?
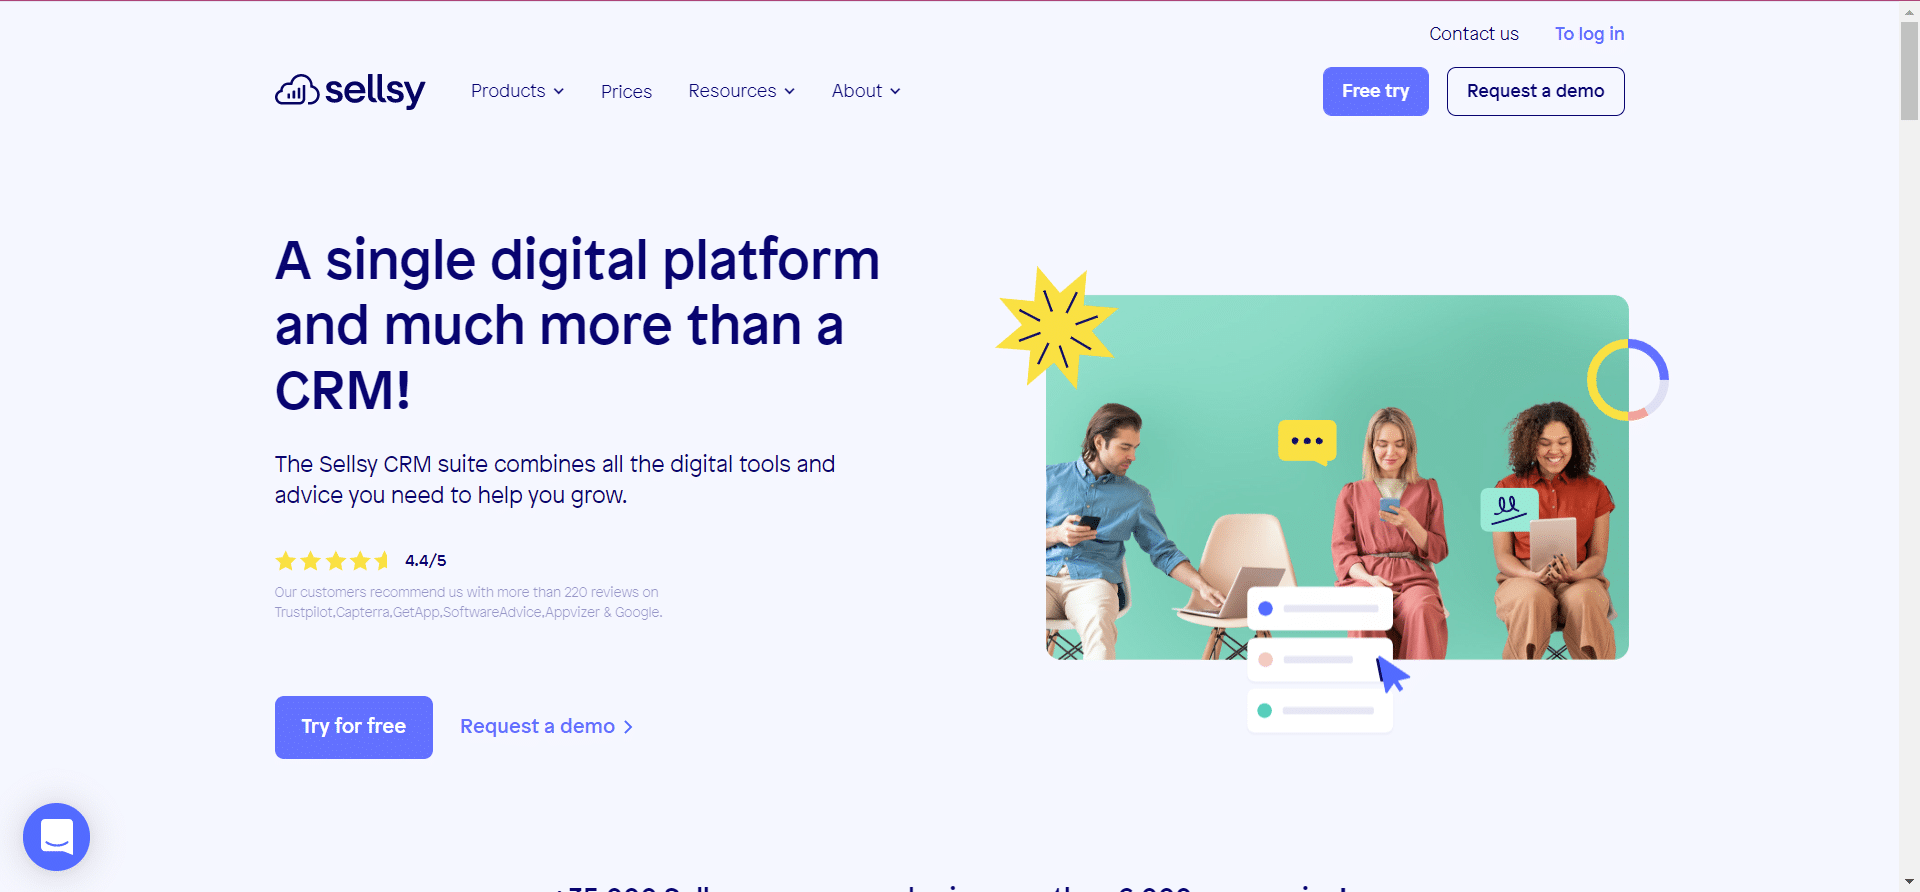
Sellsy is an all-in-one software that allows you to give your company’s marketing, sales & administrative teams the most efficient and fast ways to manage everything. Sellsy has 3 pillars:
- Prospecting & Sales: task management, agenda, list of prospects, list of contacts, marketing campaigns, the evolution of your turnover…
- Invoicing & Management: quotes, invoices, credit notes, invoicing journal, list of your deadlines.
- Cash management: manage and anticipate your cash flow (complementary module).
- Dashboards.
It is objectively a very good tool, well made. The interface is easy to use despite the number of features and possibilities that this software offers.
Do I need a paid subscription to create Zapier Webhooks?
No. You will need a paid subscription to Zapier, or the trial version to be able to create Webhooks.
You will also need a paid subscription, Advanced or Business on Waalaxy to create Webhooks.
Waalaxy x Sellsy synchronization
Step 1. Go to Zapier
-
Click on “Create a Zap”,
-
Search for “Webhook by Zapier”,
-
Under “Event”, select “Catch Hook”,
-
Click “Continue” twice, skipping the “Pick off a Child Key” part,
-
Copy the webhook URL.
Step 2. Go to Waalaxy
-
Click on “Campaign” and “Create a campaign”,
-
Filter by the action “CRM Sync” to see all sequences that include this action,
-
Select the sequence,
-
Fill in the various fields (action, deadline, message content),
In the “CRM Sync” section :
-
Select the CRM that you are going to configure,
-
Paste the link of the Webhook previously copied,
-
Click on “Test”, then “Validate”,
-
Launch the campaign. 🚀
Step 3. Launch the Webhook
-
Go back to Zapier, and pick up where you left off.
Now that the campaign has been launched, you can “Validate the Webhook” on Zapier.
-
Click on “Continue”,
Step 4. Synchronise Sellsy
-
Click on the small “+” and select the “Sellsy” tool.
-
In “Event”, select “Create Contact” and click “Continue”.
-
Connect your Sellsy account.
-
In the “Set up Action”, select each of the variables and click “Continue”. 👇
-
Test the action and publish the Zap.
View on Sellsy
You will be able to find your contacts from the side menu “Contacts” and “Contact list”. 👇
And there you go. 😍
FAQ of the article
How are the data sent?
Data is sent one by one.
Can I add a step if I want to?
You can add a step wherever you want in the Zap.
What data can I synchronize?
You can sync any data that Waalaxy sends. 👇
Prospect-related information:
-
Email.
-
First name.
-
Last name.
-
Company name.
-
Username.
-
Company name.
-
Company website.
-
Email enriched by Dropcontact.
-
Phone number.
-
Linkedin profile URL.
-
Job title.
-
Region.
-
URL of Sales Navigator profile.
-
Lead status.
-
Linkedin account type.
Waalaxy-related prospect information:
-
Prospect’s tags on Waalaxy.
-
Date of first connection on Linkedin.
-
Date of first message sent.
-
Message replied: Yes / No.
-
Message sent: Yes / No.
-
Email replied: Yes / No.
-
Email sent : Yes / No.
-
List of prospects in which the prospect is.
Conclusion
If Sellsy is the software you use to organize your strategy and your teams, syncing it with your prospecting tool, Waalaxy will save you considerable time in your tasks and make the most of the data retrieved by Waalaxy. All you have to do is the process and organize them from your Sellsy software.
It’s up to you now, you can start synchronizing Waalaxy and Sellsy! 😎


